Contacts
Our storage house and office
Nemravka.cz
(areál
K
251 62 Tehovec-Vojkov
How to find us
e-mail: info@nemravka.cz
+420 734 742 604
You can do a purchase or pick up your orders.
Opening hours:
Mo - Fr 8 - 14
General information
info@nemravka.cz
Information about your orders
objednavky@nemravka.cz
+420 734 742 604
Wholesale
velkoobchod@nemravka.cz
Information about polymer clay
petra@nemravka.cz
Information about scrapbooking
scrapbooking@nemravka.cz
- Home
- Useful Links and Tips
- About (Polymer) claying
- Polymer Clay Jewelry
- Cabochon Necklace
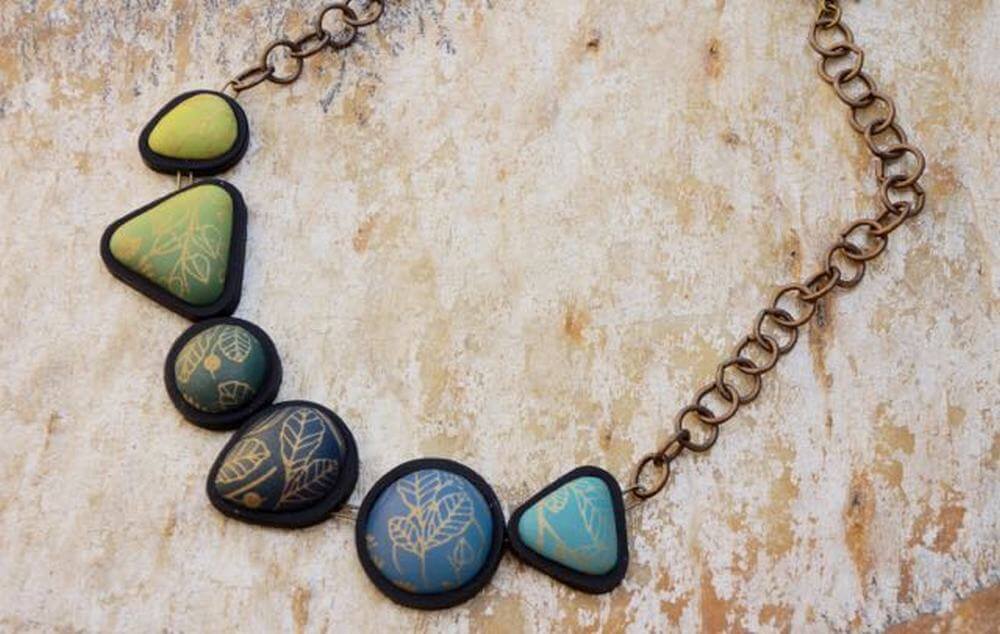
Cabochon Necklace

Bezel and cabochon molds are an easy way how to create infinite variations of jewellery.
Silk Screen Kit offers both beauty and simplicity. Let us create together a piece of jewellery – necklace - using these tools.
You need following tools and material for creation:
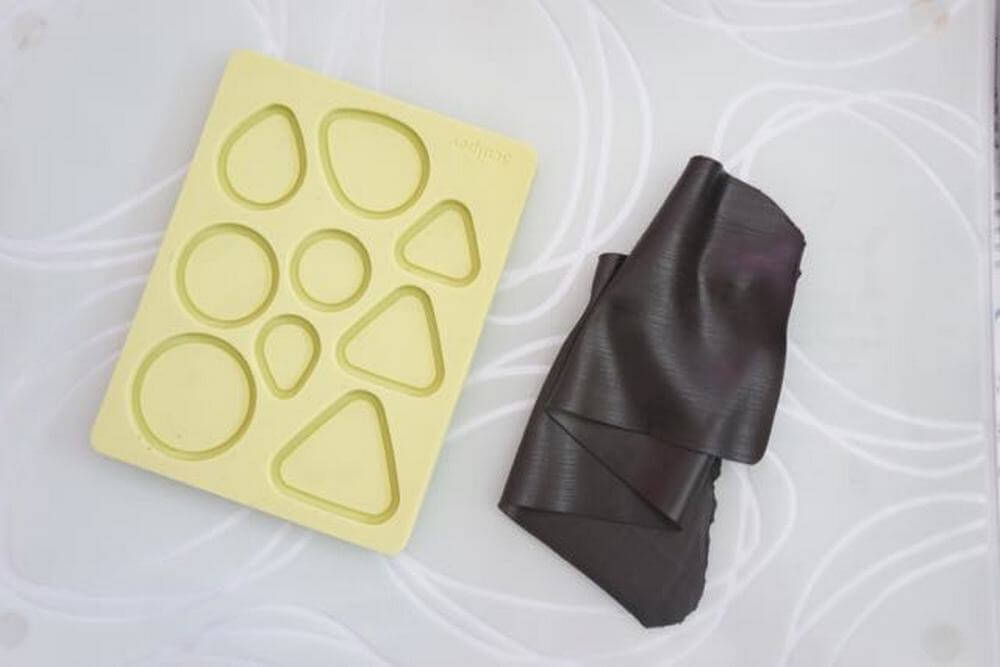
- Bezel Mold Sculpey
- Cabochon Mold Sculpey
- Silk Screen Kit Sculpey
- Premo Black
- Premo in other 3 colours to get colour blend (I used wasabi, turquoise and dark blue)
- Scrap clay
- Translucent Liquid Sculpey (TLS)
And standard tools for clay work:
- Pasta machine
- Sharp tissue blade
- Work surface
- One tile (for baking)
1. First of all, condition black clay. The clay must be soft and malleable. If you have to leave the clay on work surface, pass it through the pasta machine several times right before you start working with it.
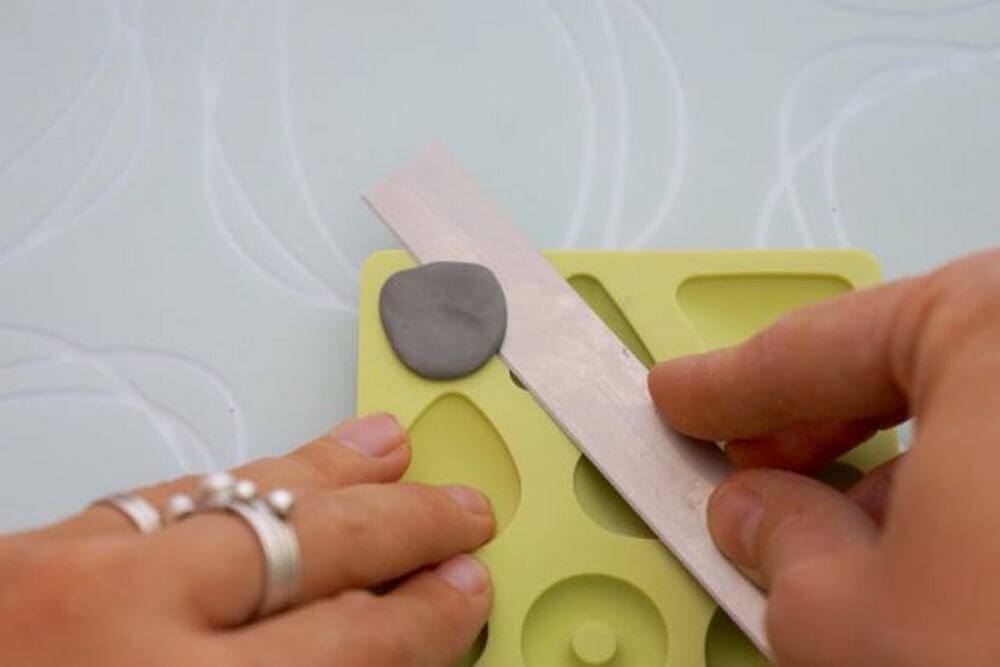
2. Make a small ball from a piece of clay, the size of which should correspond to the shape you want to create (ca 1 – 2 cm diameter). Flatten it into a shape of the Bezel mold you chose (e.g. if the frame has a shape of triangle, make a triangle).
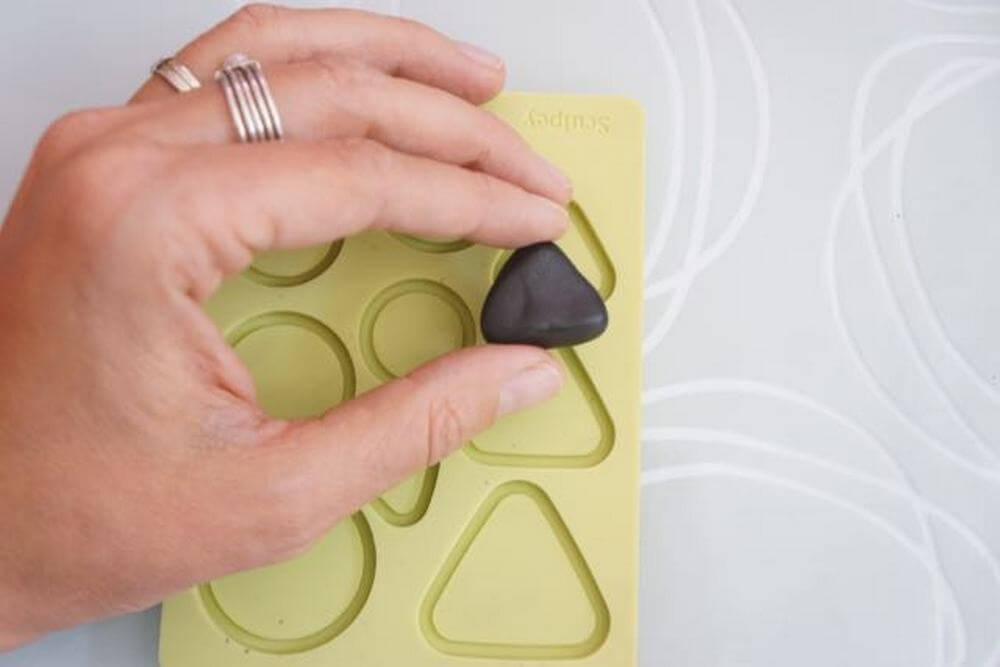
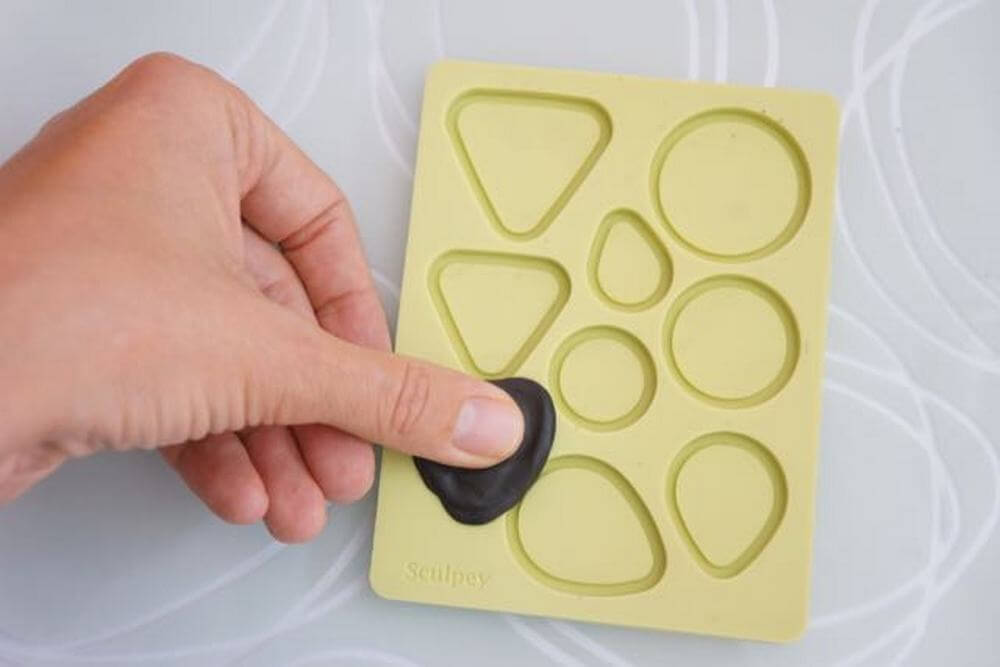
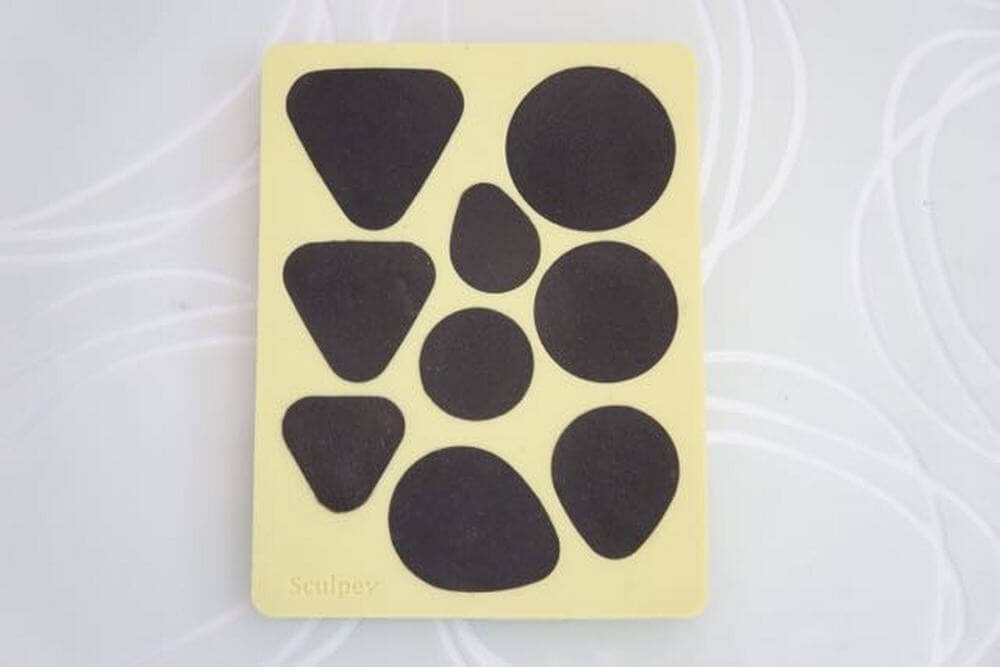
3. Push the clay into the bezel mold – first, squeeze it evenly, particularly into the edges of the frame. Make sure the frame is thouroughly filled with the clay, so push it in from various directions and angles.
4. Trim the clay with a sharp blade. What I found effective is to start trimming from the outer part towards the center and around the entire mould. Remove trimmed clay.
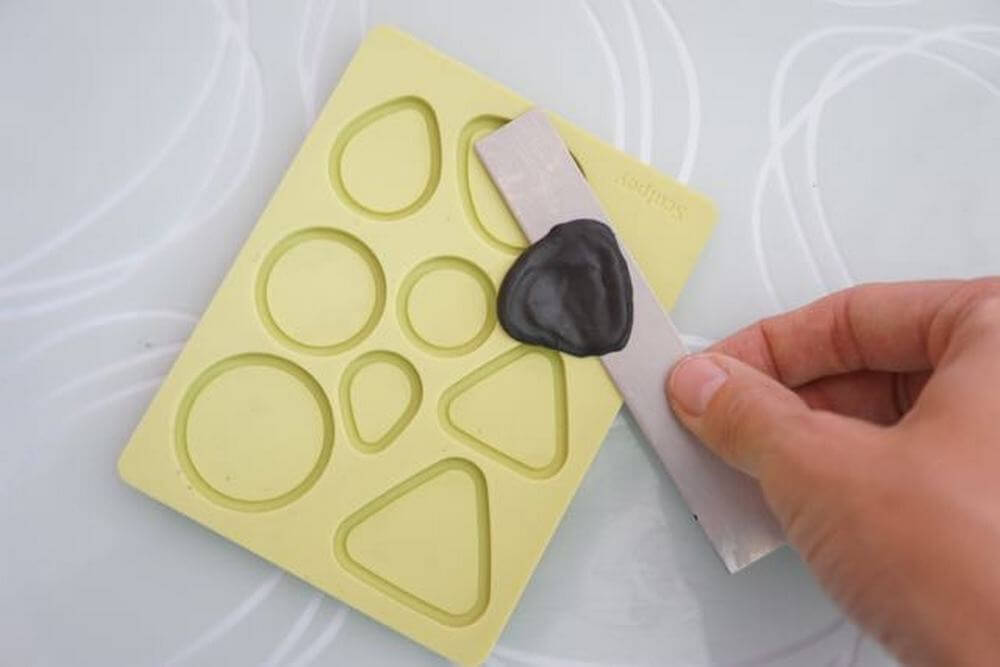
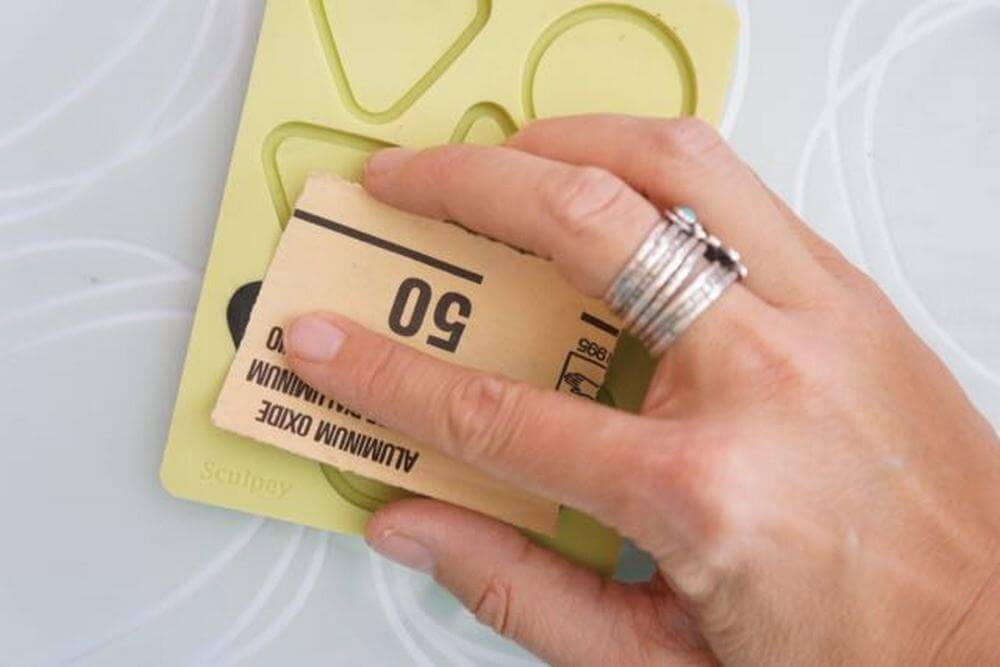
5. Print texture on the surface of the clay in the mould (use texture sponge, sanding paper). Do not remove the clay from the frame!
6. Repeat the procedure for other shapes you want to create. When all the space is filled, bake the clay and frames following recommended instructions (described on the package).
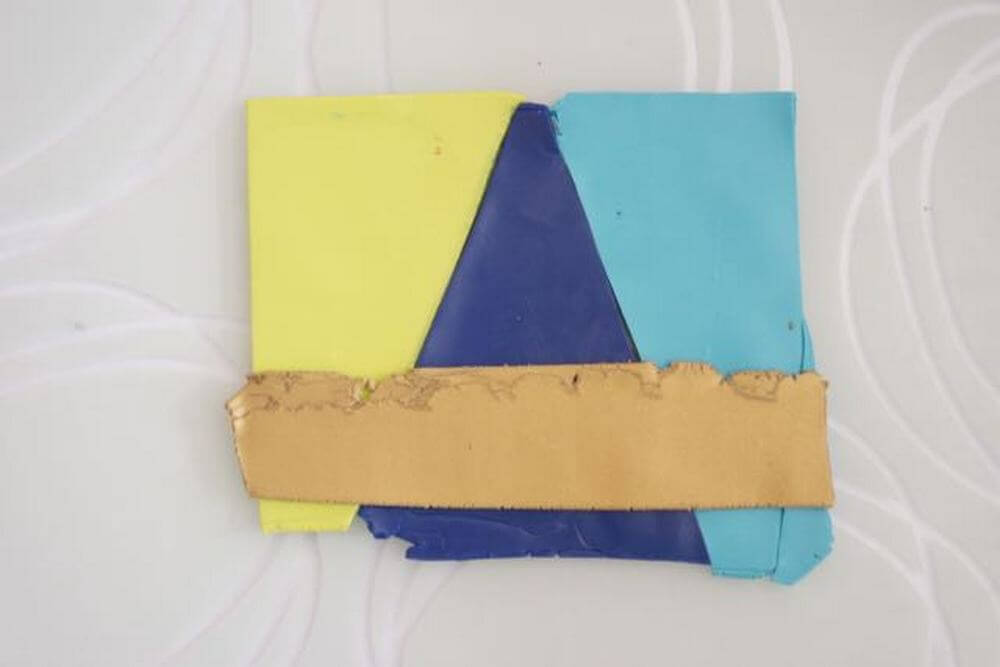
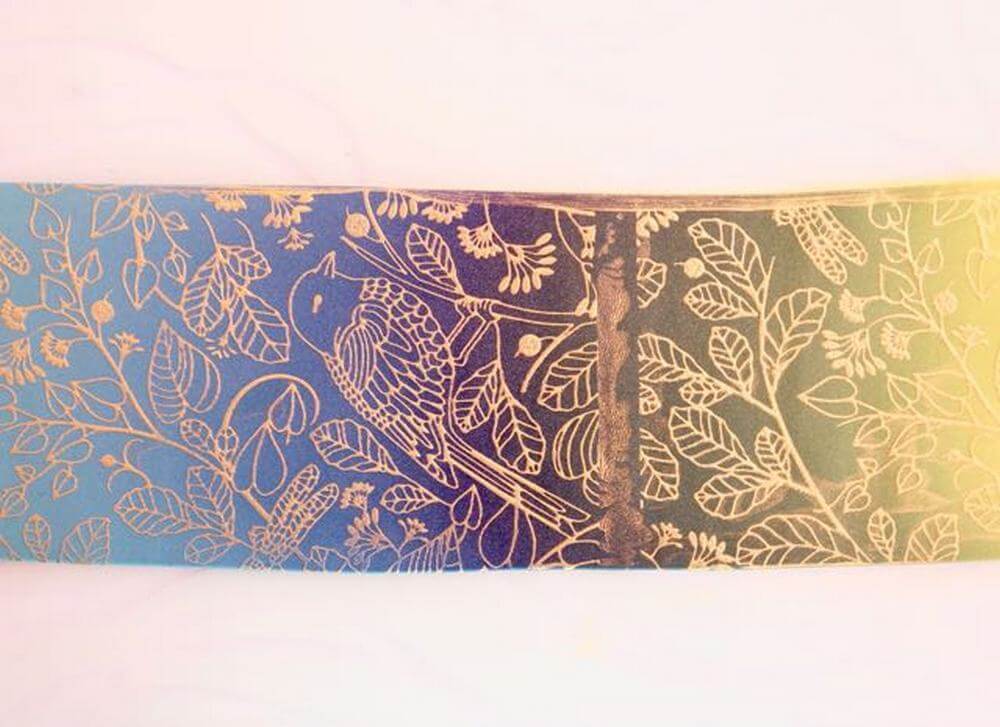
7. While the bezels are being baked, prepare tricolour blend. Roll out the final sheet on middle or thinner setting of the pasta machine (the sheet should be thin). Place it on a plastic wrap. Besides the three colours, I supplemented my blend with an antiqued gold sheet over the entire length to soften the colours and to add shine.
8. Now, choose a motif from the silk screen kit. Place the reverse (shiny) side of the silk screen on the clay and smooth it out.
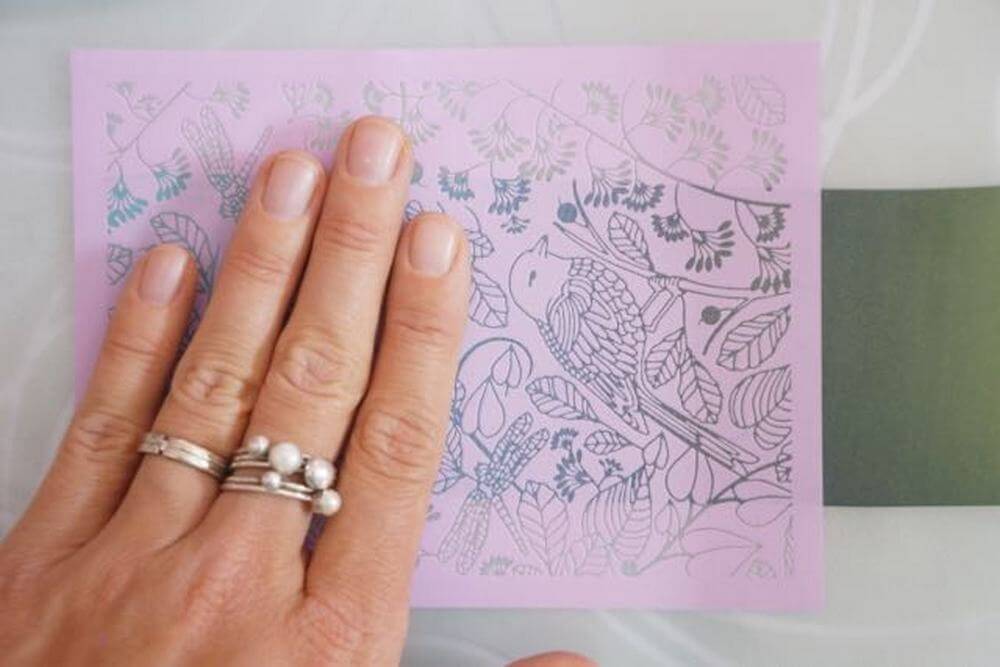
9. Prepare acrylic paint and a white spatula. Apply the paint to the edges of the silk screen.
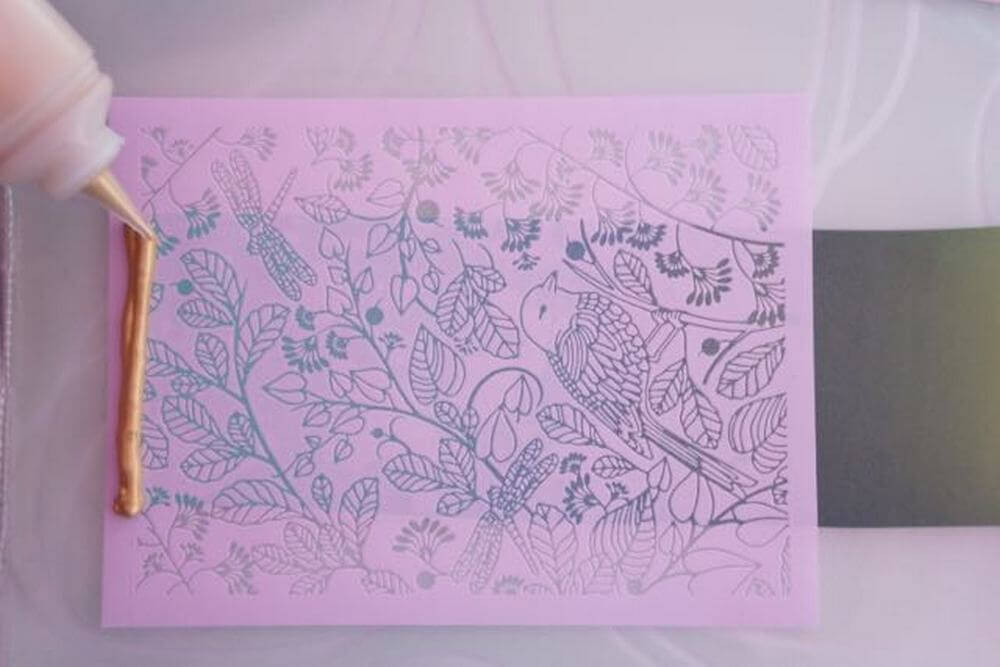
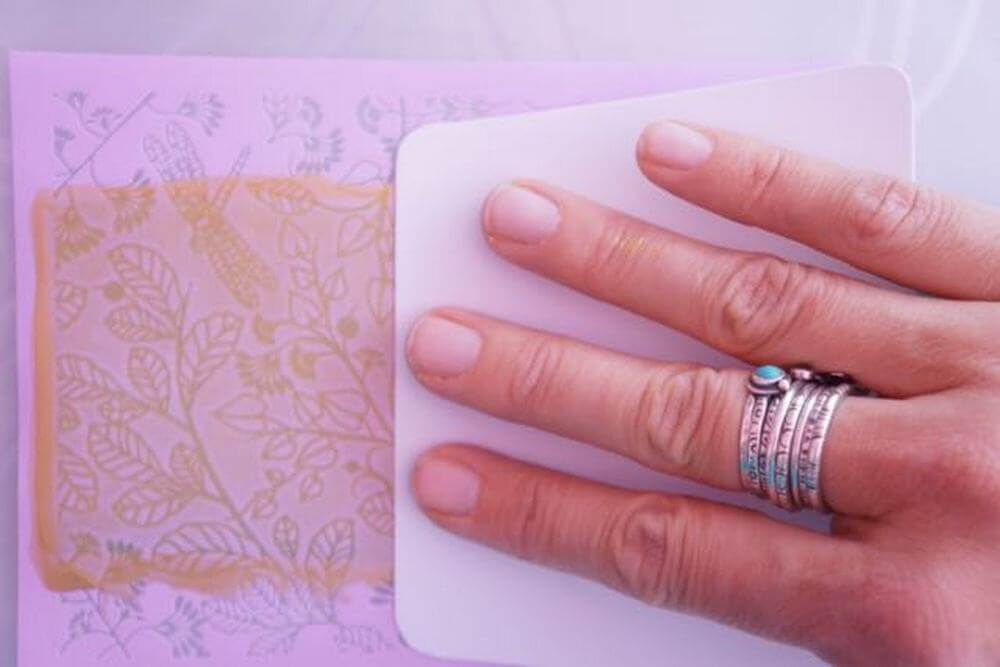
10. If the silk screen does not fully cover the surface of the blend, repeat the procedure once you apply acrylic paint. You do not have to deal with a seam of the silk screens.
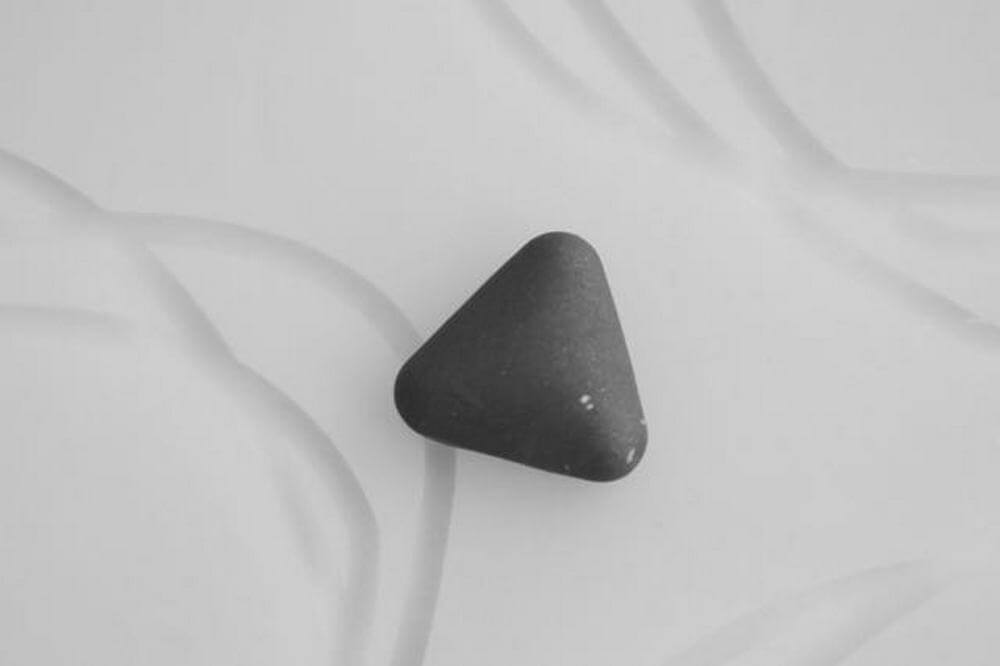
11. Take well conditioned scrap clay and create cabochons (in a similar way like frames): make a ball and shape it into a form of cabochon. Squeeze it into the mould and trim excessive clay.
12. Remove the clay out of the cabochon molds. It works well to press the mold against glass - clay sticks to smooth surface and is easily removable. Repeat the procedure for other shapes – every frame has a corresponding cabochon.
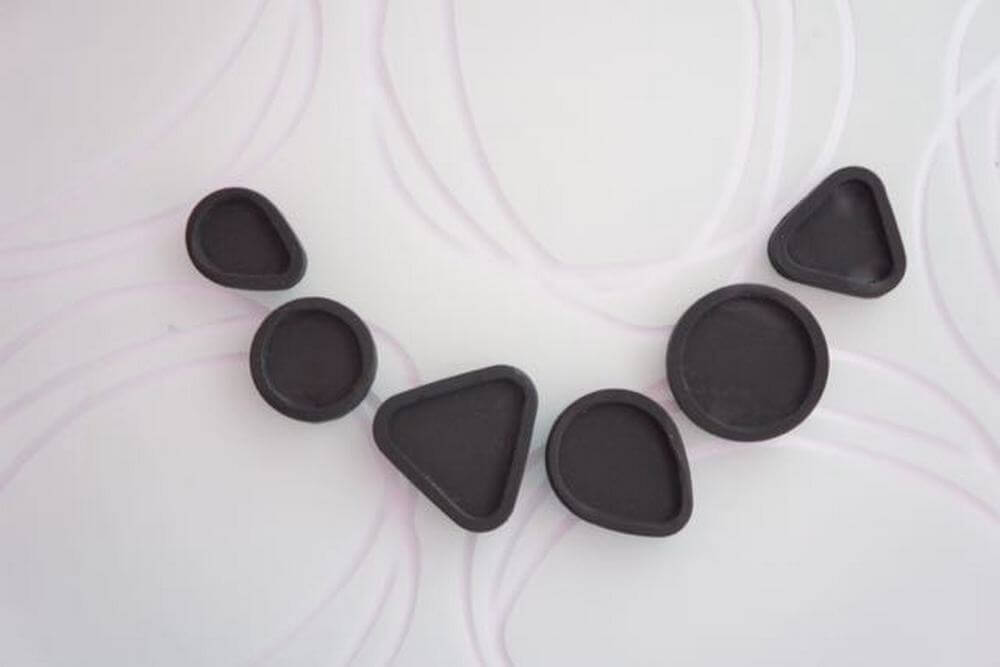
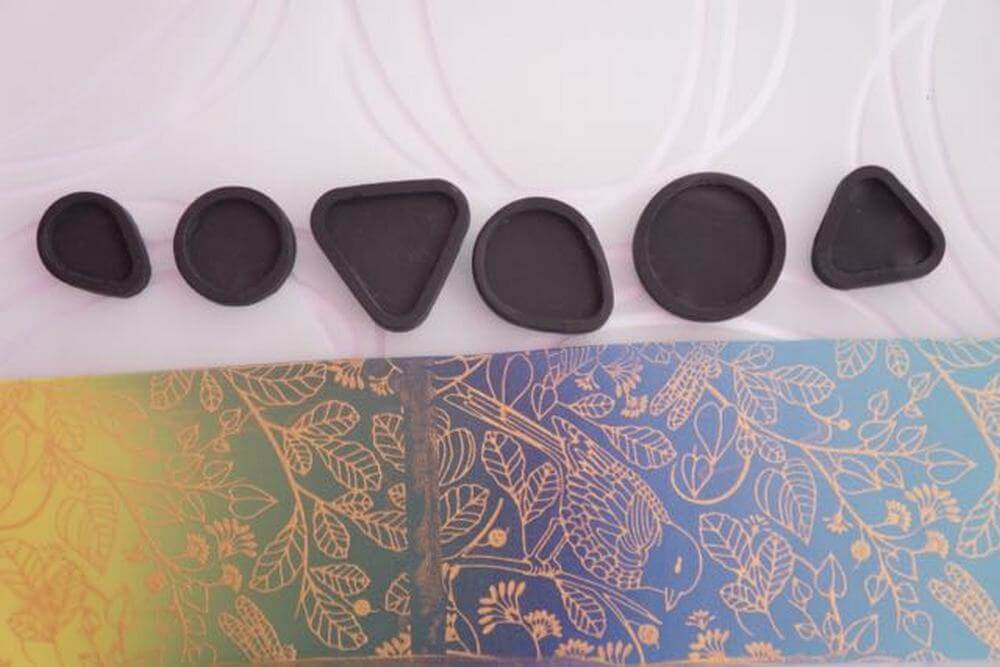
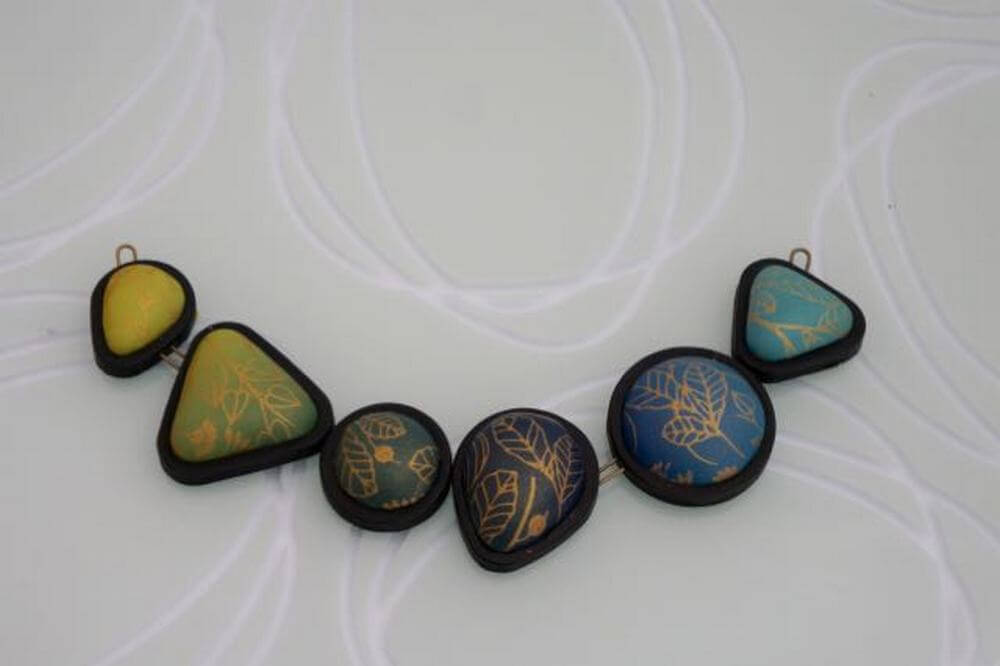
13. Lay out the bezels next to each other in the order you want to have them on the necklace. Place the blend sheet under them.
14. Start at one end of the blend (I start with turquoise colour) and one end of the necklace (tringle on my necklace). Get a slice of clay, place the cabochon base on it and cut about 3 mm of the clay around it.
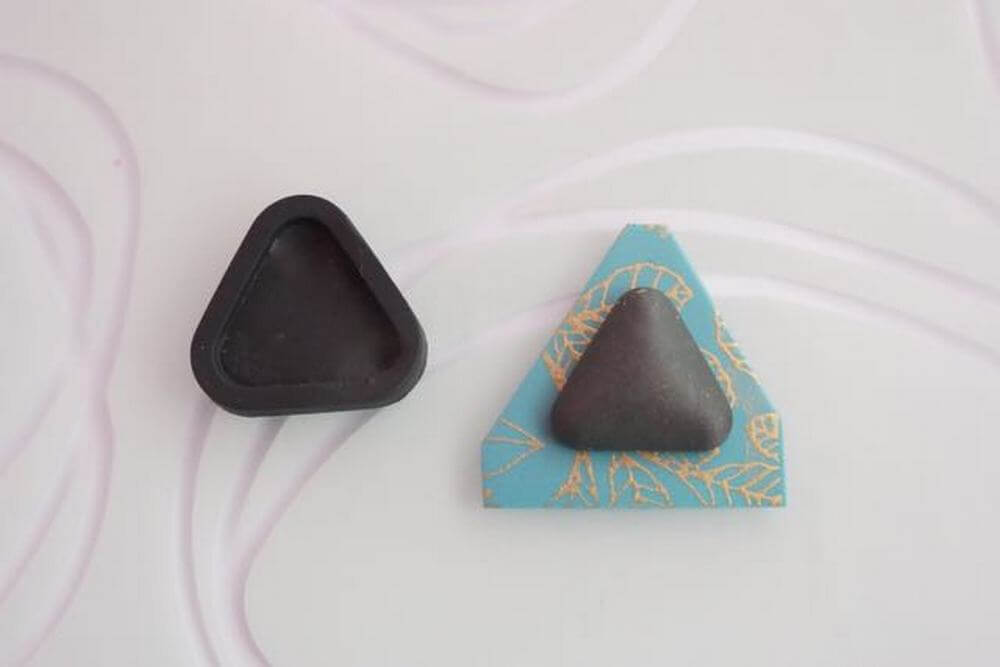
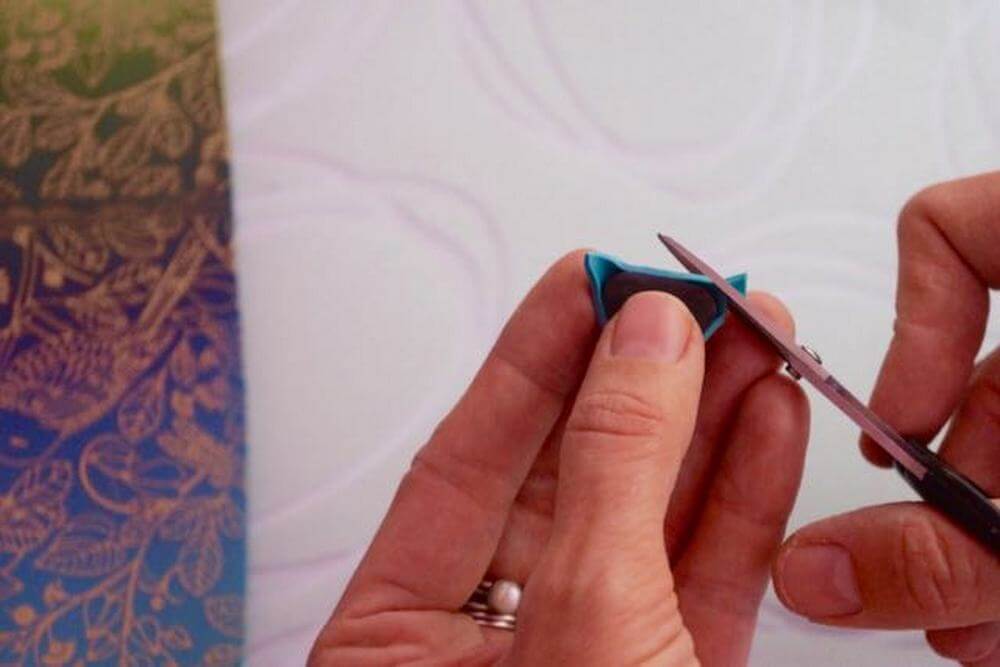
15. Put the cabochon base (by its patterned side) on the top blend sheet. Edges of the cabochon must fit the blend sheet. I like small scissors (sharp blade is also good) to trim the edges.
HINT: You can also squeeze the blend clay into the mold first, then fill the rest of the mold with scrap clay. Trim excessive clay. However, I prefer to make it in two stages because cabochons look chubbier then.
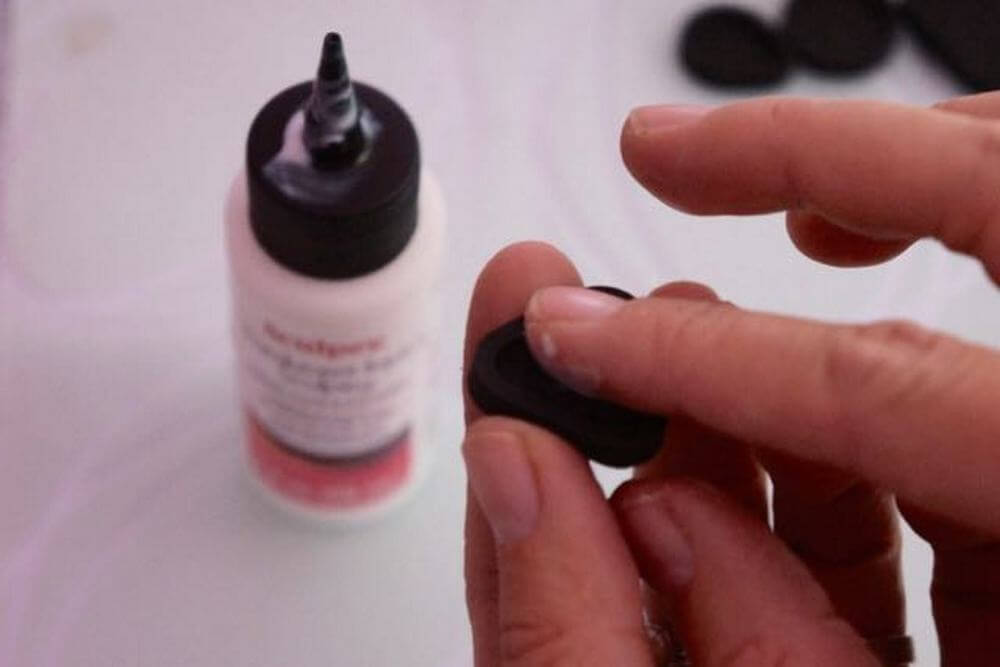
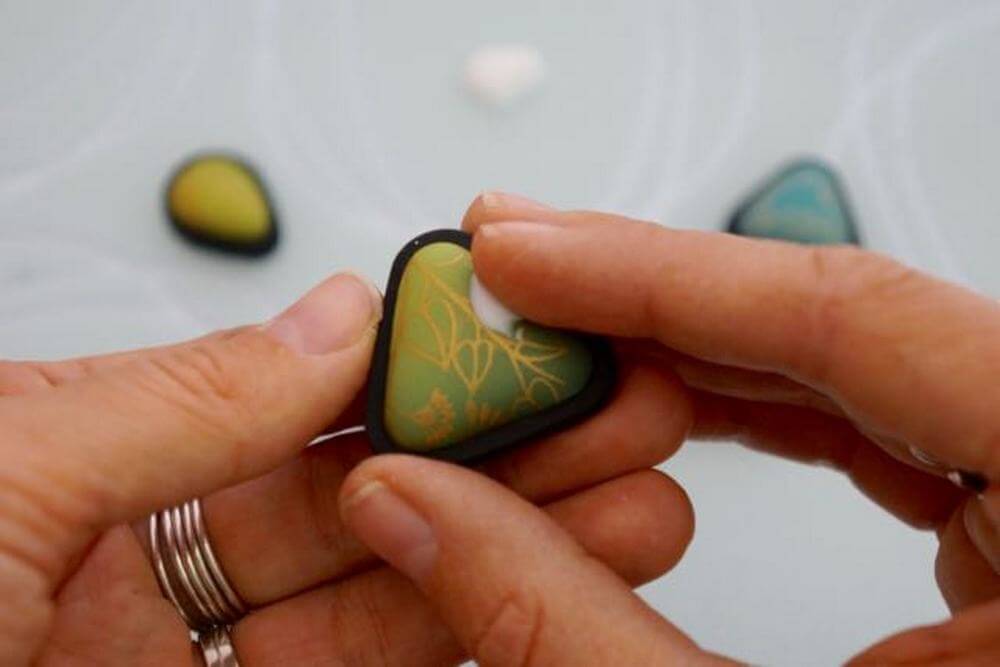
16. Next, spread a thin layer of TLS in the middle of the bezel to join baked and raw clay.
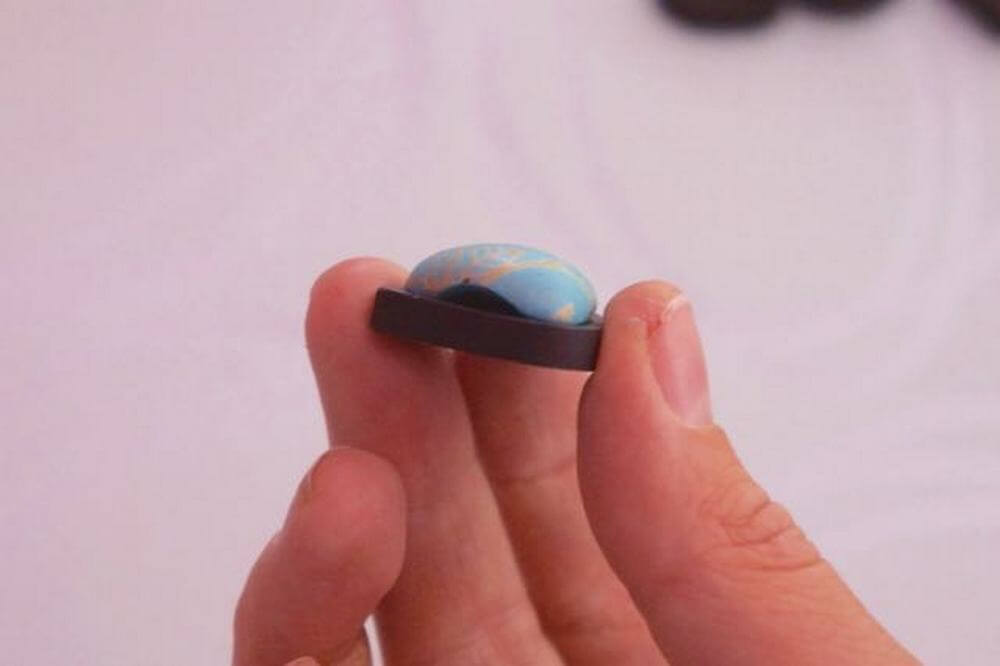
17. Shape the cabochon slightly in the center to make a bulge. The surface of the cabochon becomes smaller and fits the bezel easily. If your cabochon has corners, squeeze them into the bezel first and then the rest of the clay.
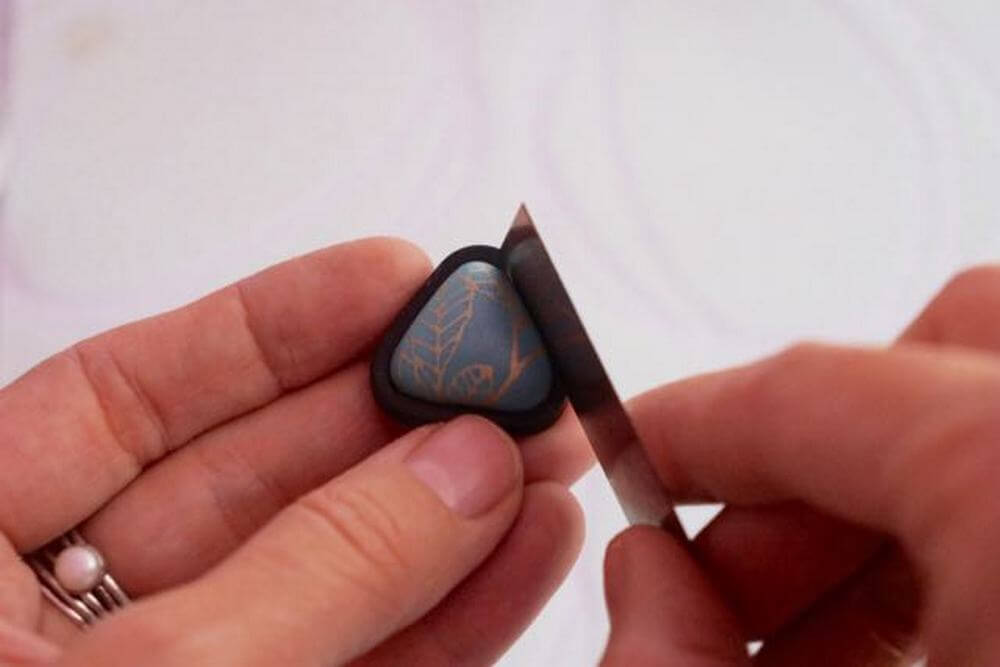
18. Finally, smooth the shape of the cabochon using modelling silicone tools or the blunt edge of blade. Smooth out the surface with your hands. Bake it following recommended instructions.
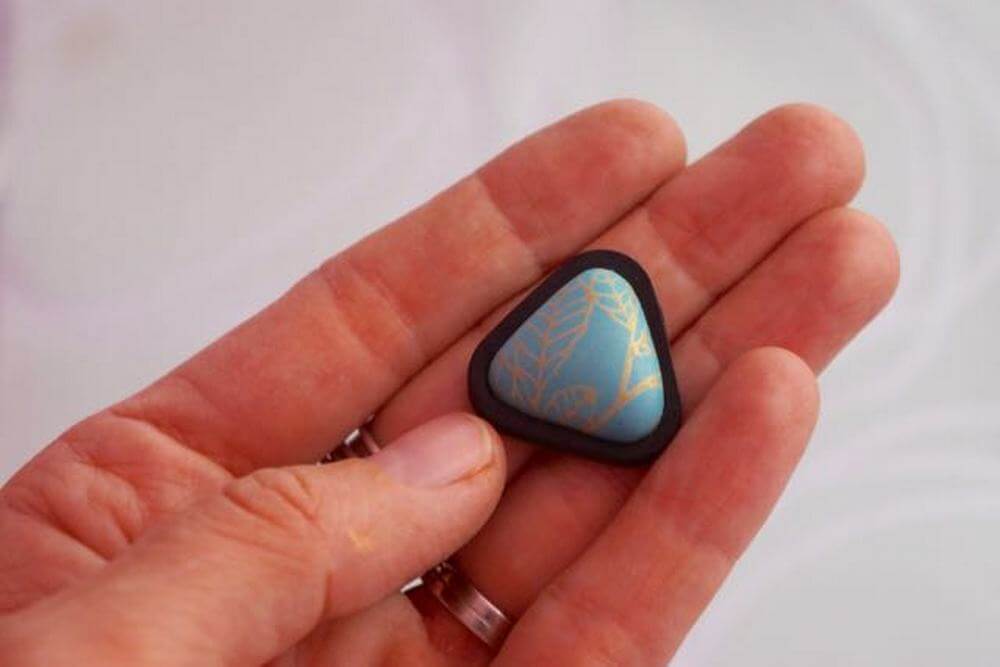
19. After baking and cooling, apply small amount of TLS and bake it again. When the top acrylic paint is covered with TLS, the surface is more resistant to scratches.
You need following components to assemble the necklace:
- Wire (18 -16 gauge) / headpins (Tierra Cast)
- Quality superglue / other glue for plastic and metal
- Chain (Tierra Cast) / Buna cord (for hanging)
- Toggle clasp or lobster claw clasp
- Jumprings
- Cutting, round-nose and flat-nose pliers
- Thin hand drill (1 mm)
- Fine liner (silver, gold)
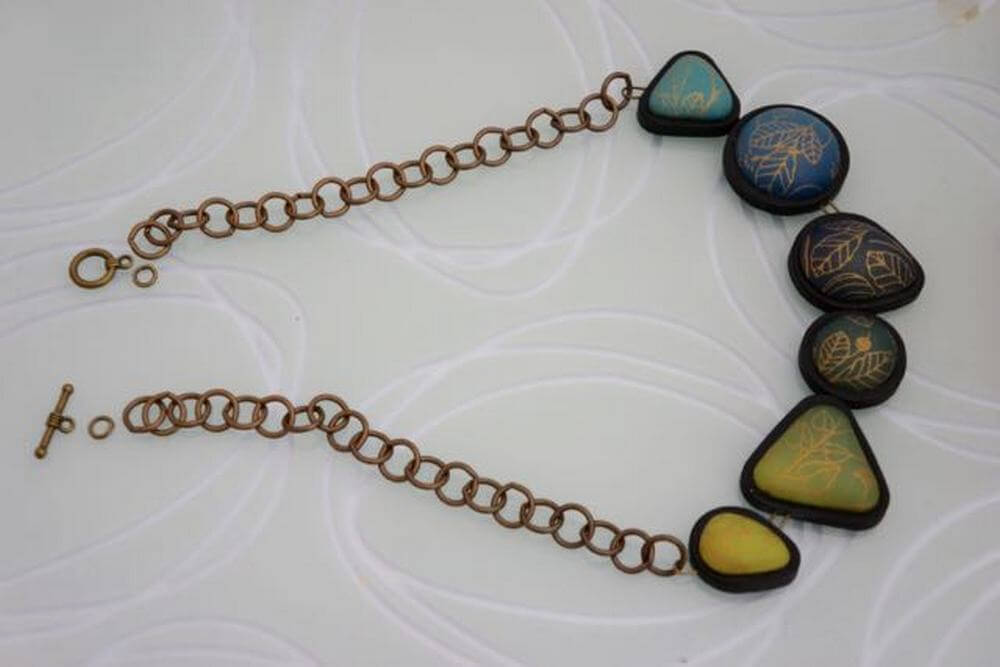
20. Lay out the components of the necklace to get the final look (I have a semicircle). It is useful to trace them on a sheet of paper or to take a picture.

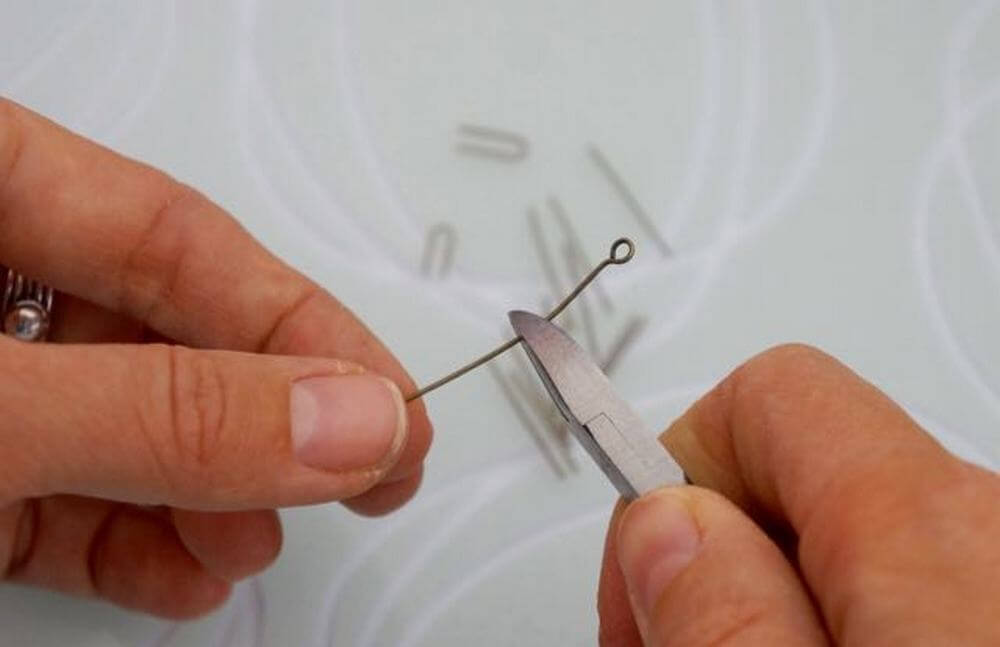
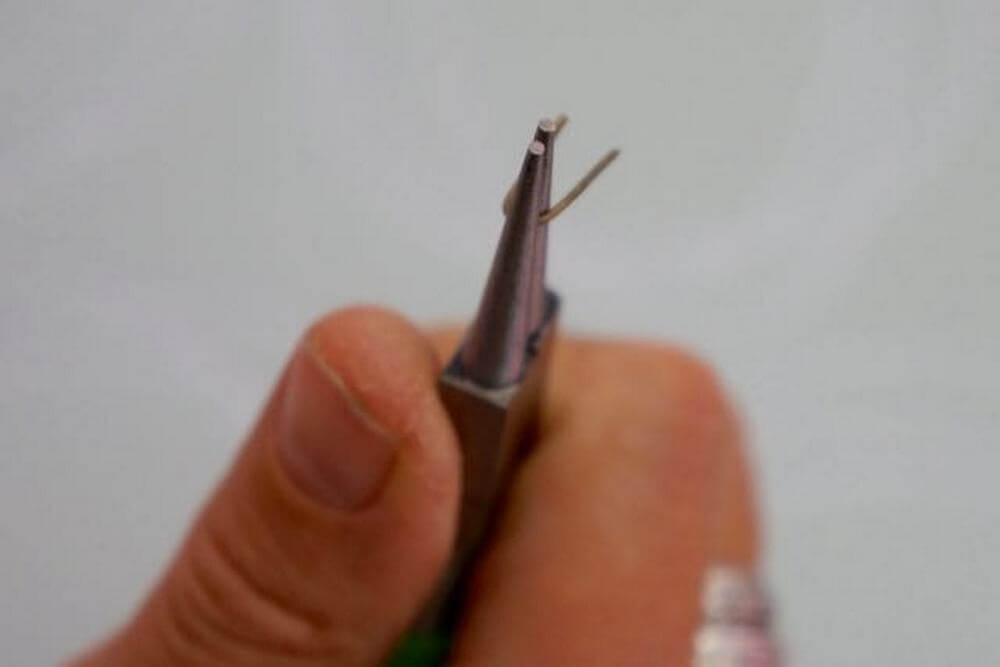
21. Cut the wire into 1,5 - 2 cm long pieces (you need 14 pieces together) plus some spare ones. Form two pieces of wire into a „U shape“ for outside bezels.
22. Using the fine liner, draw dots at the places where two pieces touch.
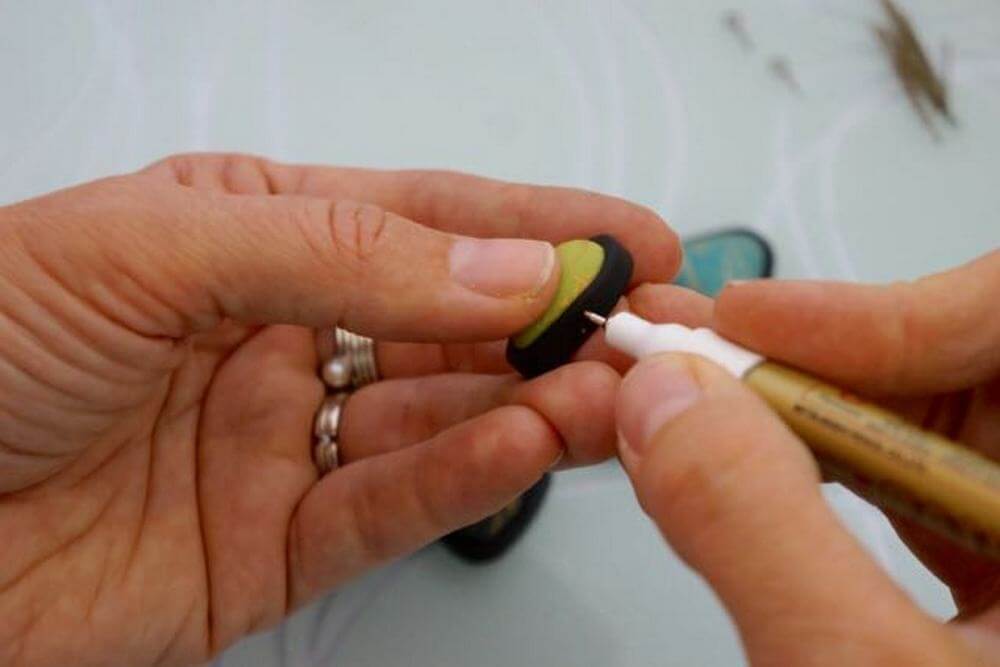
23. Drill a hole approximately 1 -2 mm from the marked dot. Drill another one on the opposite side and on the next bezel. Then wipe the dots off.

24. Squeeze out small amount of glue on paper, dip the tip of the wire into it and insert into a drilled hole. Repeat the same procedure with the other wire.
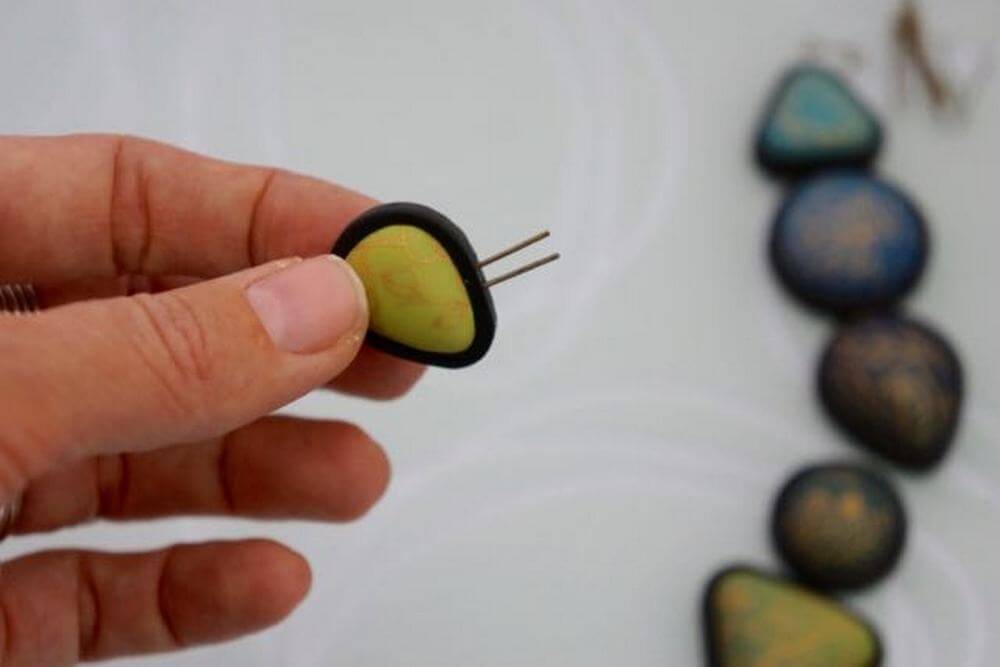
25. When the glue is dry, insert the wires into the opposite holes. If the wires are too long, cut them out or deepen the holes. Or, let the wires long with intentionally visible and long joints.
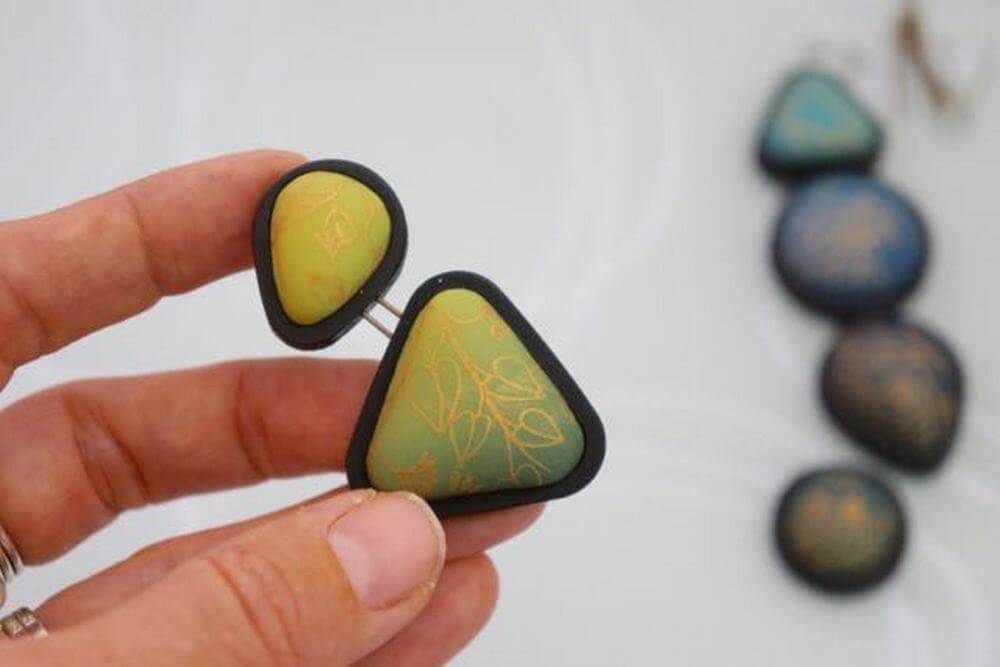
26. Use U-shaped wire for outside bezels.
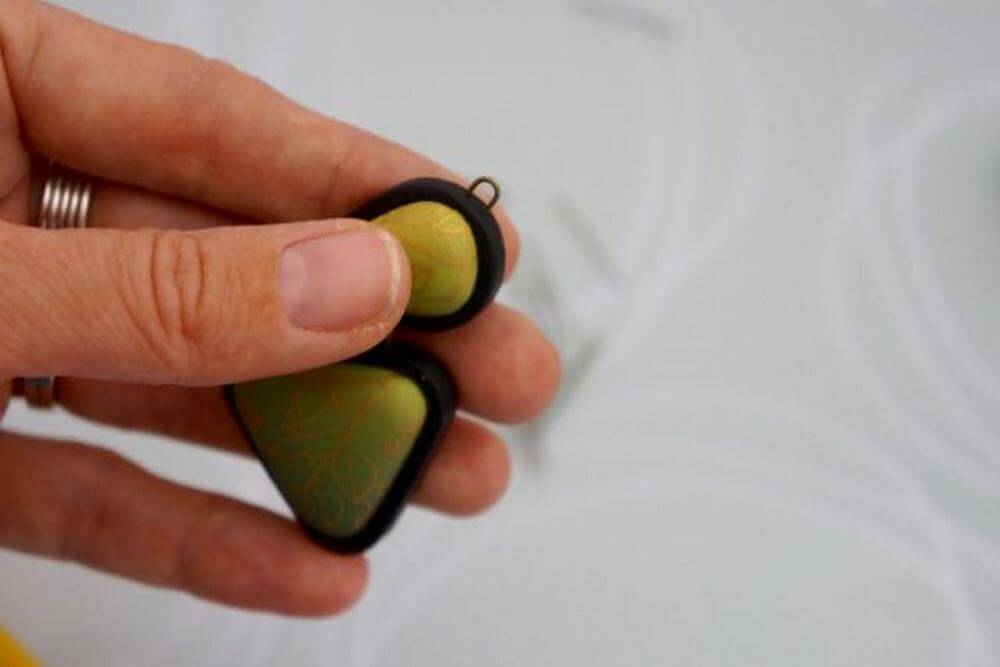
27. Connect all the components.
28. Measure out the chain, add jumprings to the loops of the necklace, attach clasps to both the ends and that´s it! Now, enjoy a cup of delicious coffee! :o)
Happy Claying!
Petra