Contacts
Our storage house and office
Nemravka.cz
(areál
K
251 62 Tehovec-Vojkov
How to find us
e-mail: info@nemravka.cz
+420 734 742 604
You can do a purchase or pick up your orders.
Opening hours:
Mo - Fr 8 - 14
General information
info@nemravka.cz
Information about your orders
objednavky@nemravka.cz
+420 734 742 604
Wholesale
velkoobchod@nemravka.cz
Information about polymer clay
petra@nemravka.cz
Information about scrapbooking
scrapbooking@nemravka.cz
- Home
- Useful Links and Tips
- About (Polymer) claying
- Polymer Clay Jewelry
- Flowers for kids
Flowers for kids
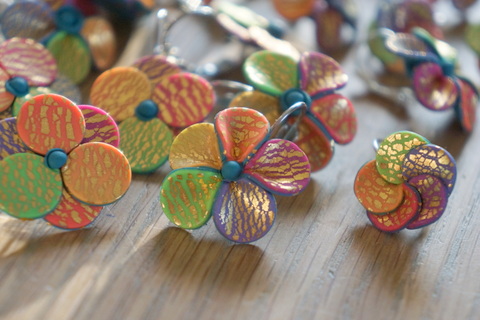
Spring is in full swing, summer vacation is approaching and the children´s day, beloved by all kids, is here as well. If your child loves creative activities, make together round earrings in spring colours. Initially, I wanted to make one design of earrings, however, I made three types finally – they are suitable for children of different ages, or possibly a different level of creative capacities. Children love these earrings! I created them for my daughters at one time and then creation for the entire nursery school classroom followed...
You need the following for creation:
¼ block of fluorescent yellow Premo clay
1/3 block of fluorescent pink Premo clay
¼ block of turquoise Premo clay
Any other colour for the base
½ of metal leaf (I am using a golden one)
round cutter by Kemper, ca 9.5 mm
etch n pearl by Sculpey tool
paper
common tools for polymer clay work
leverback earwire for finishing, superglue (e.g. Loctite gel)
Procedure:
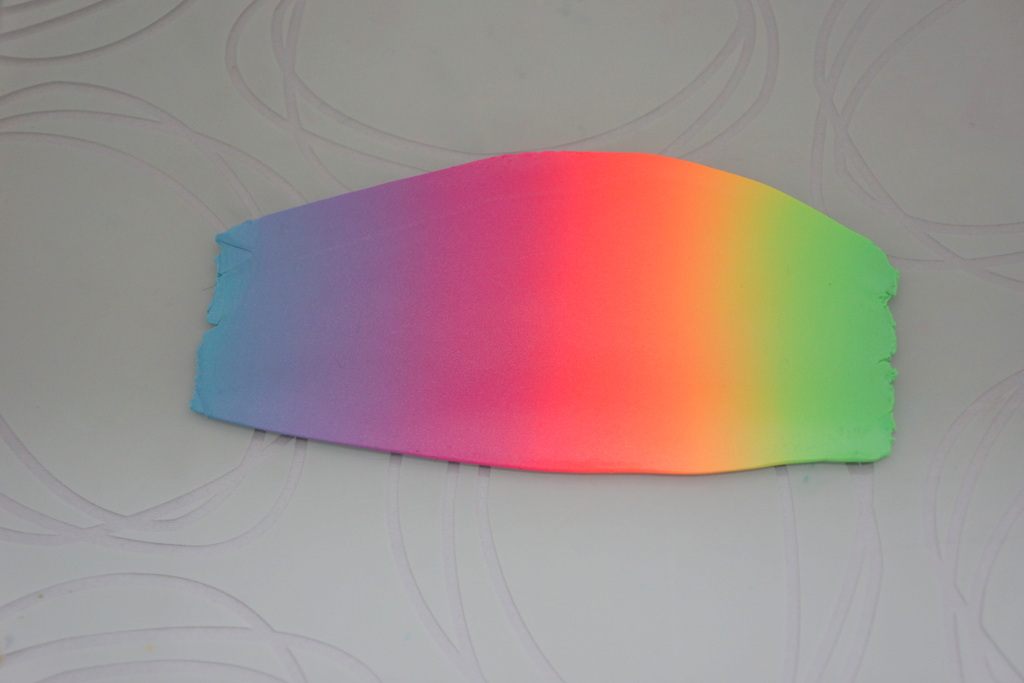
1. First, condition the clay on low middle setting of your pasta machine and get a blended sheet (if you do not know how to make it, watch e.g. this video). Put yellow colour in the middle of the blend and make the yellow sheet larger, because dark shades of clay tend to “cover” yellow, so, make the colour visible. You need only a small amount of the clay.
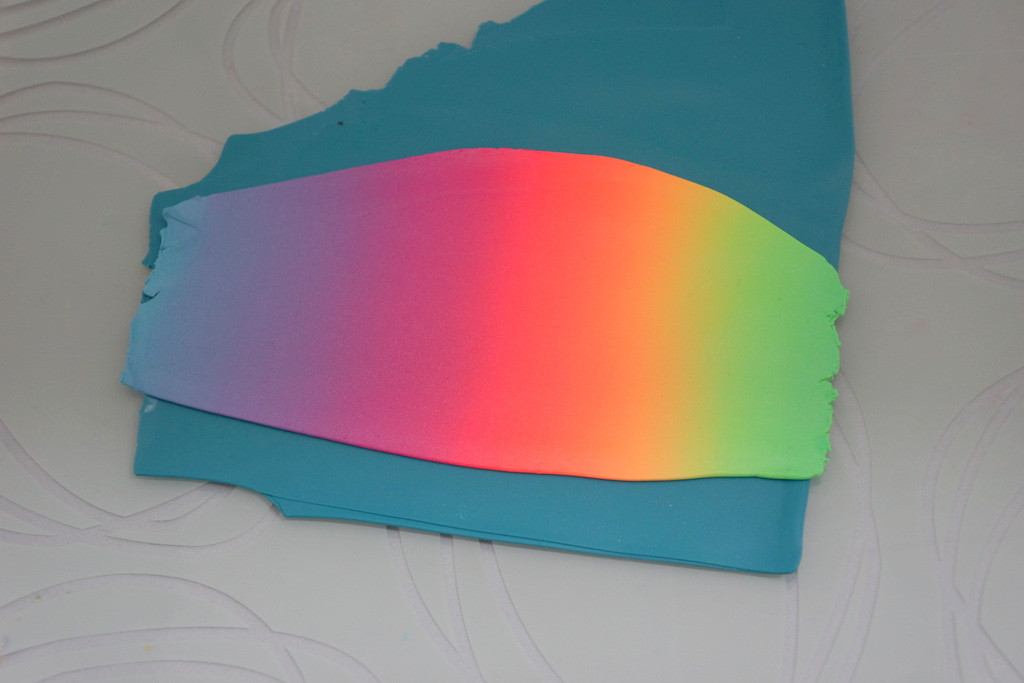
2. Condition the clay intended for the base on low middle setting of your pasta machine and make the sheet larger than the blended one. Lay one sheet on the other and avoid getting air bubbles between them.
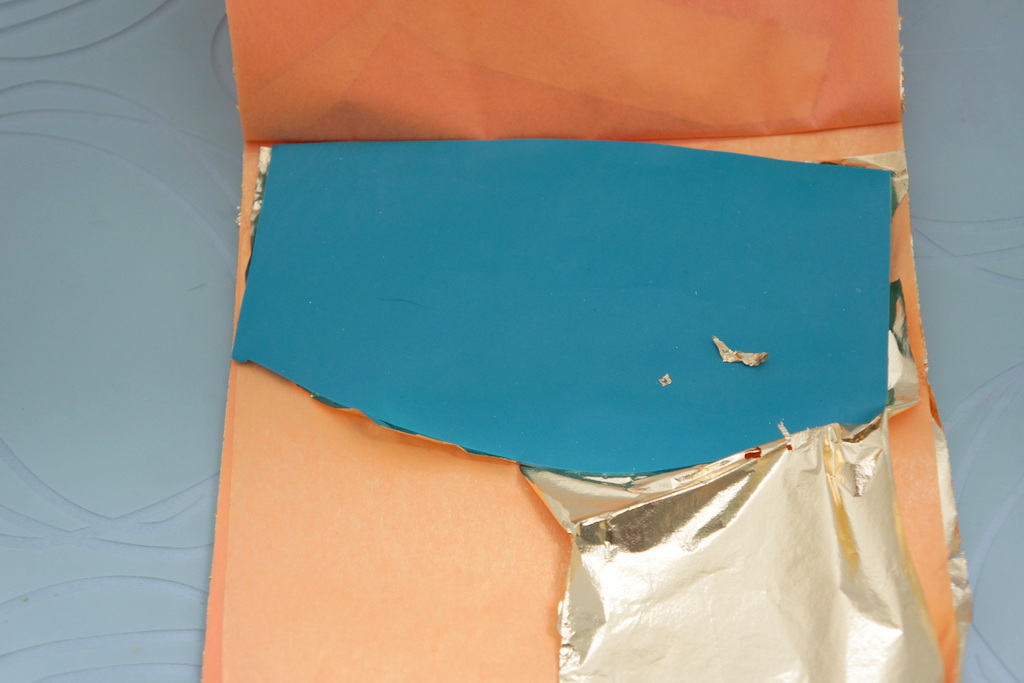
3. Place the blended side of the sheet on the metal leaf – it perfectly adheres to the clay. Do not try to glue the metal leaf to the sheet – the metal will flutter all around the room. Smooth the metal leaf on polymer clay with your fingers.
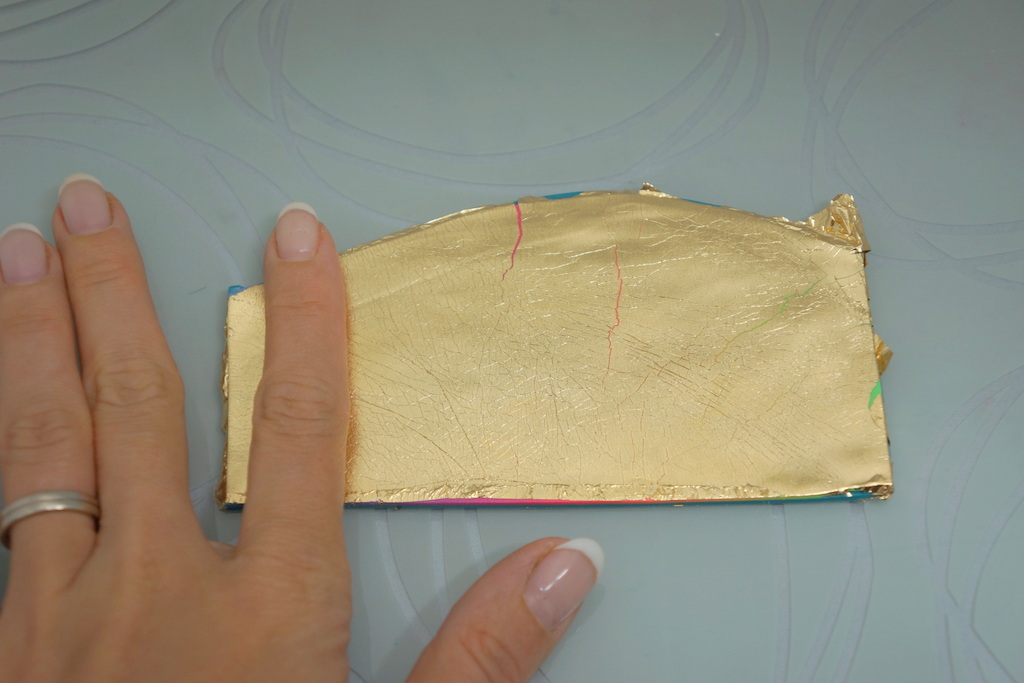
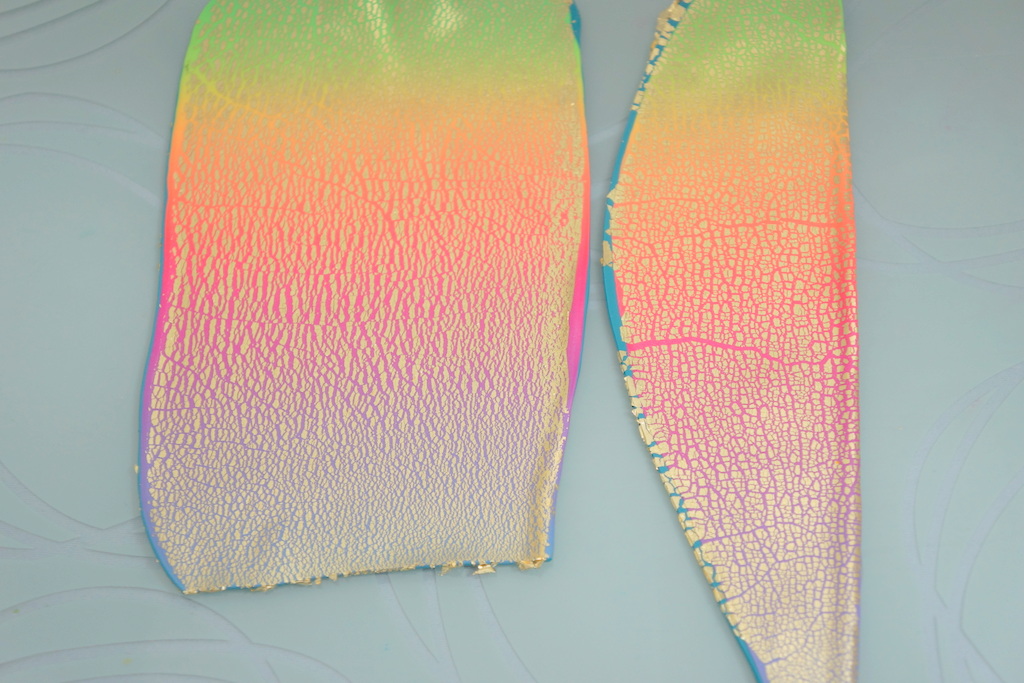
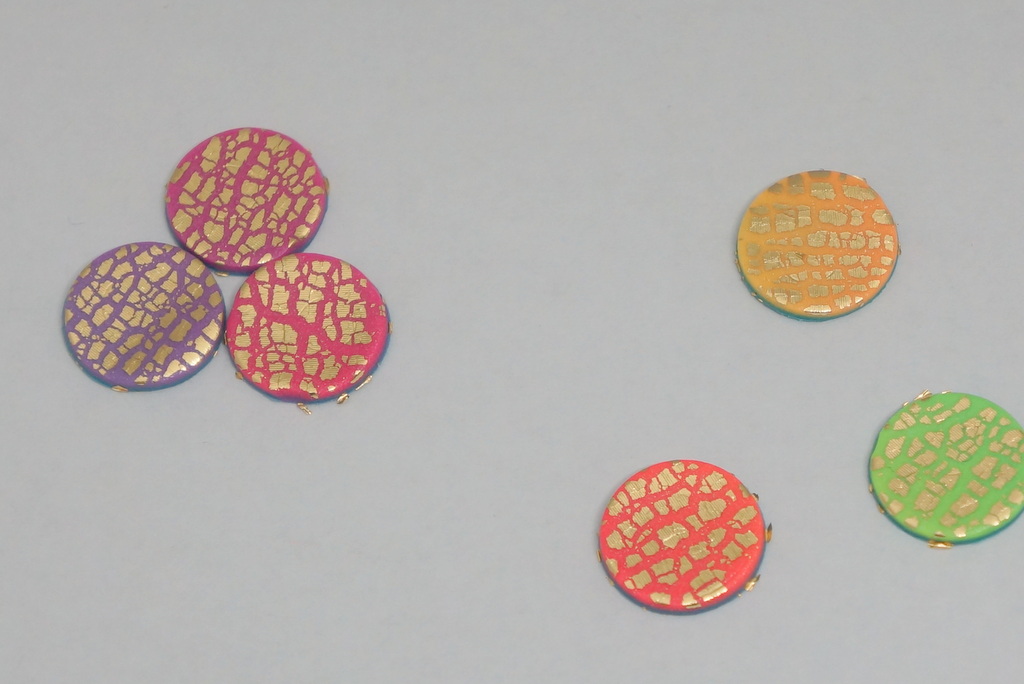
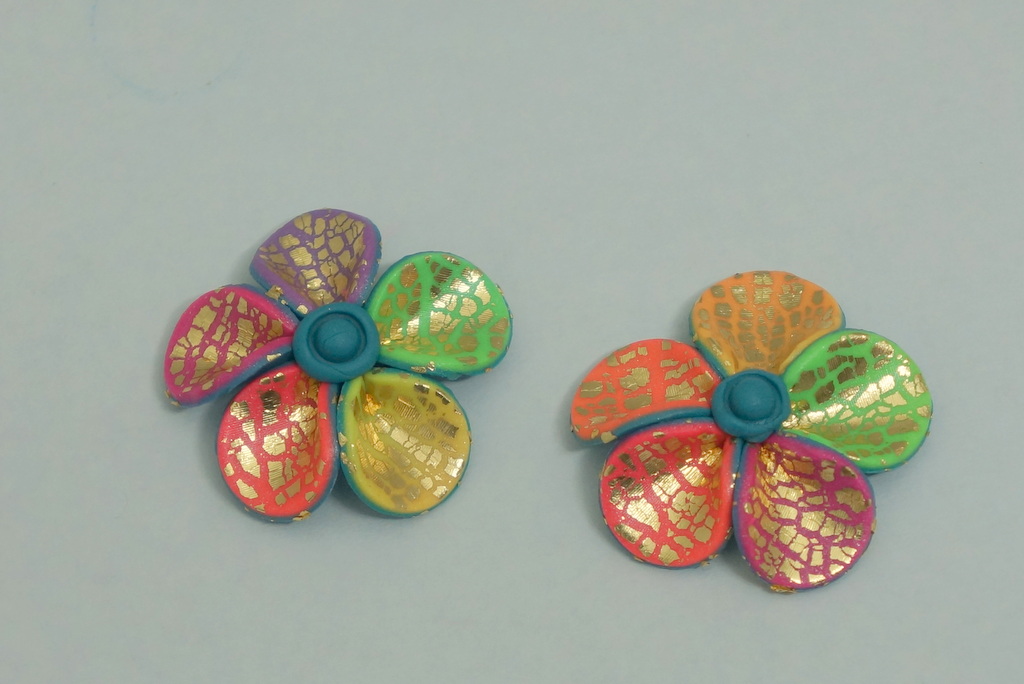
4. Roll out the sheet on the thickest setting of your pasta machine and gradually lower the setting until you get to the low middle one. If you roll out the sheet following always the same direction, the cracks will be elongated and thin (see the image on the left). If you change direction when rolling out the sheet, you get short small cubes (see the image on the right).
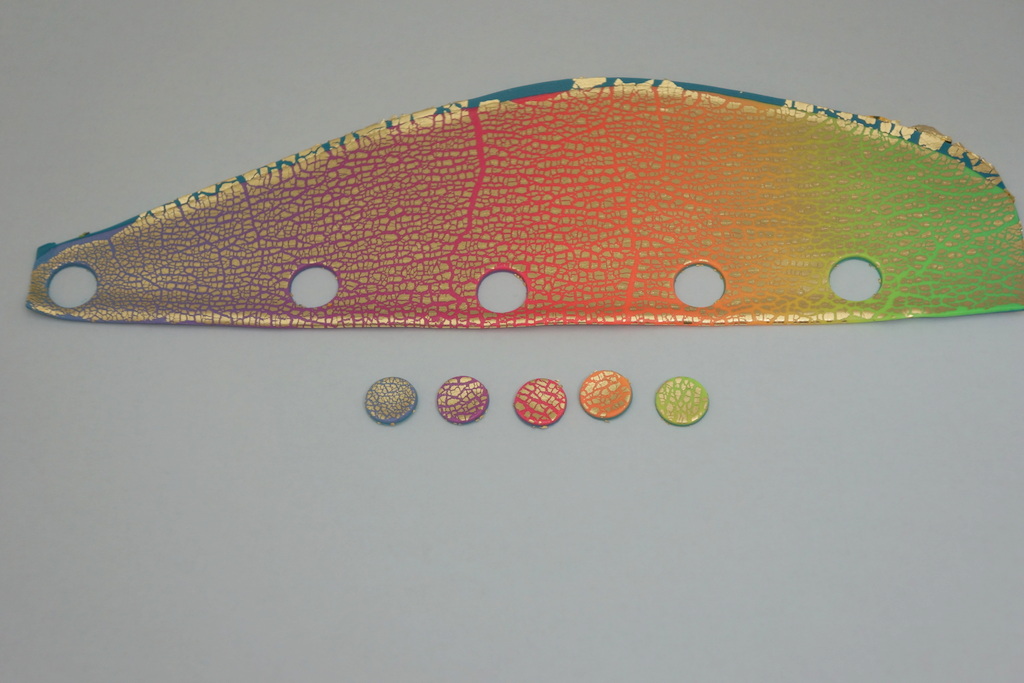
5. Put the conditioned clay on paper and cut out small rounds on various colourful parts of the sheet.
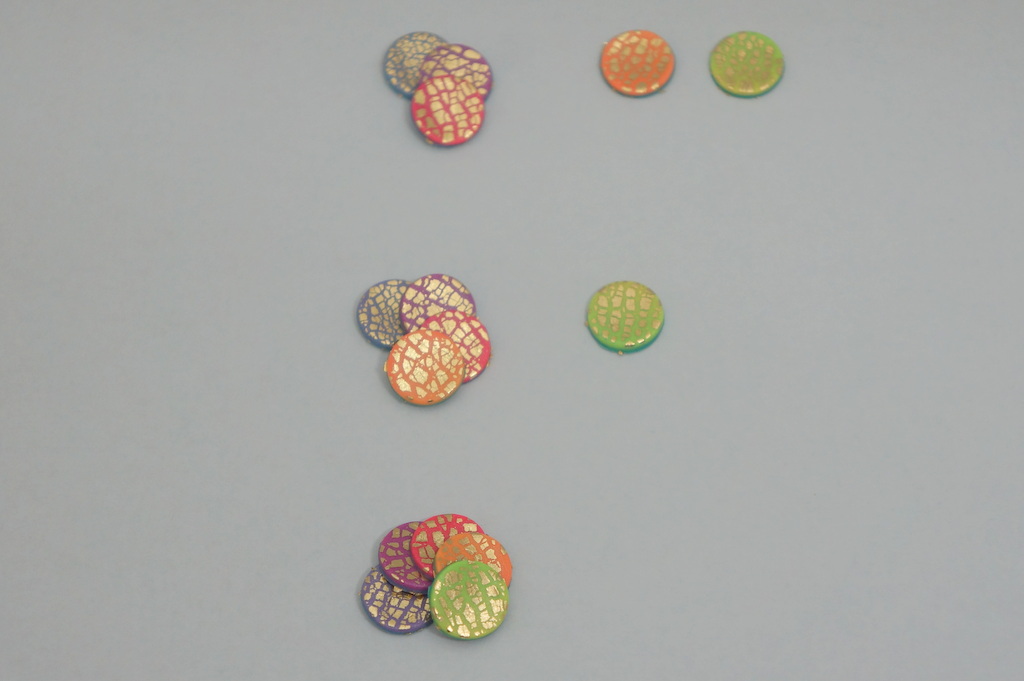
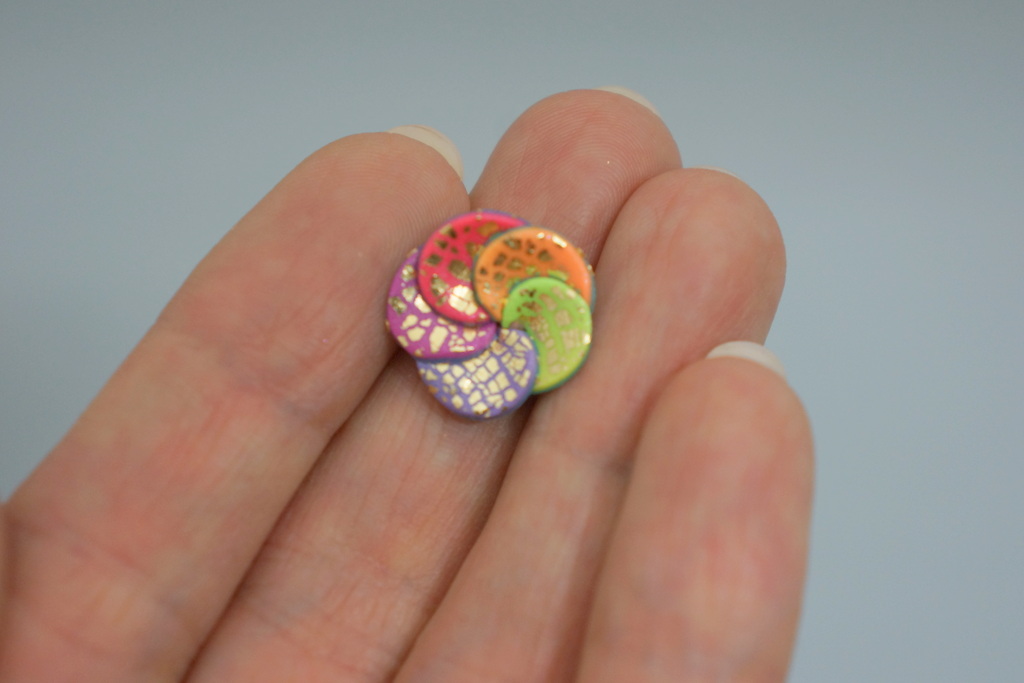
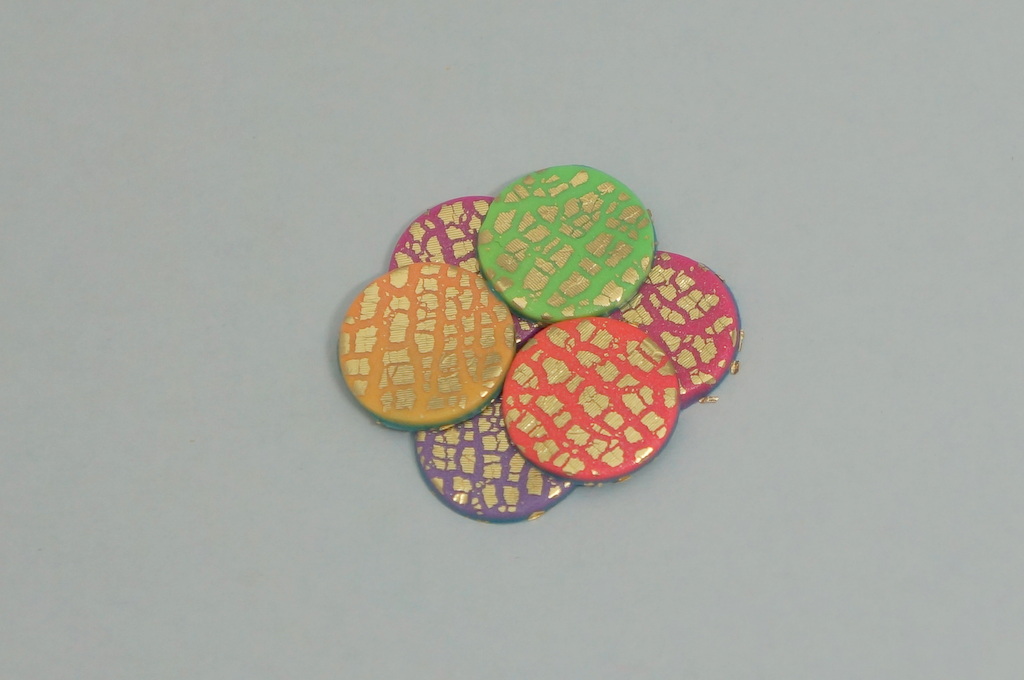
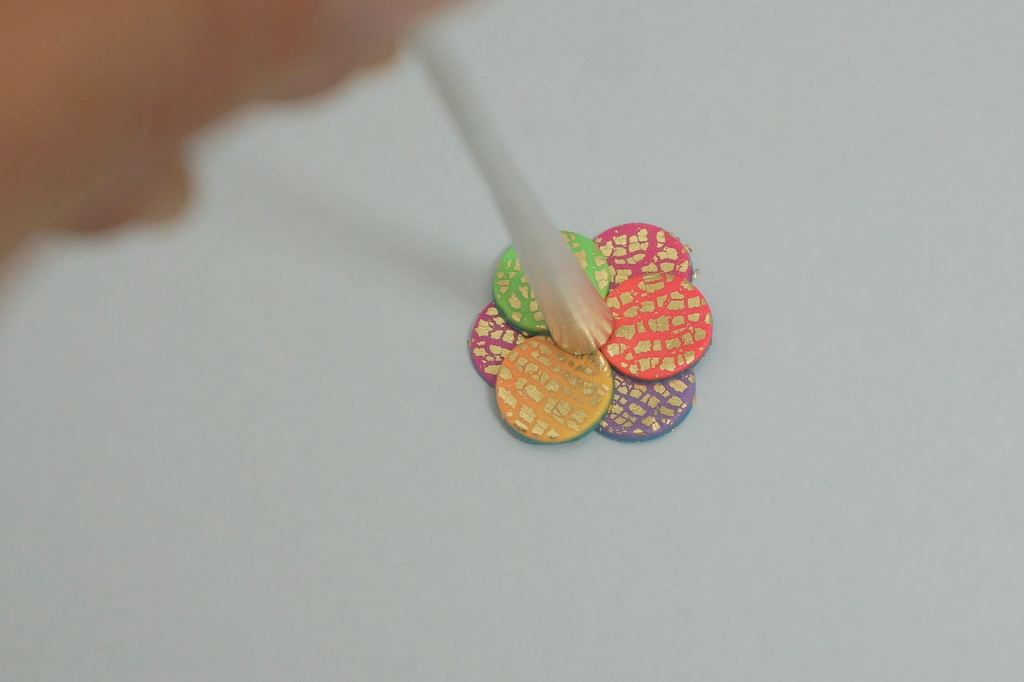
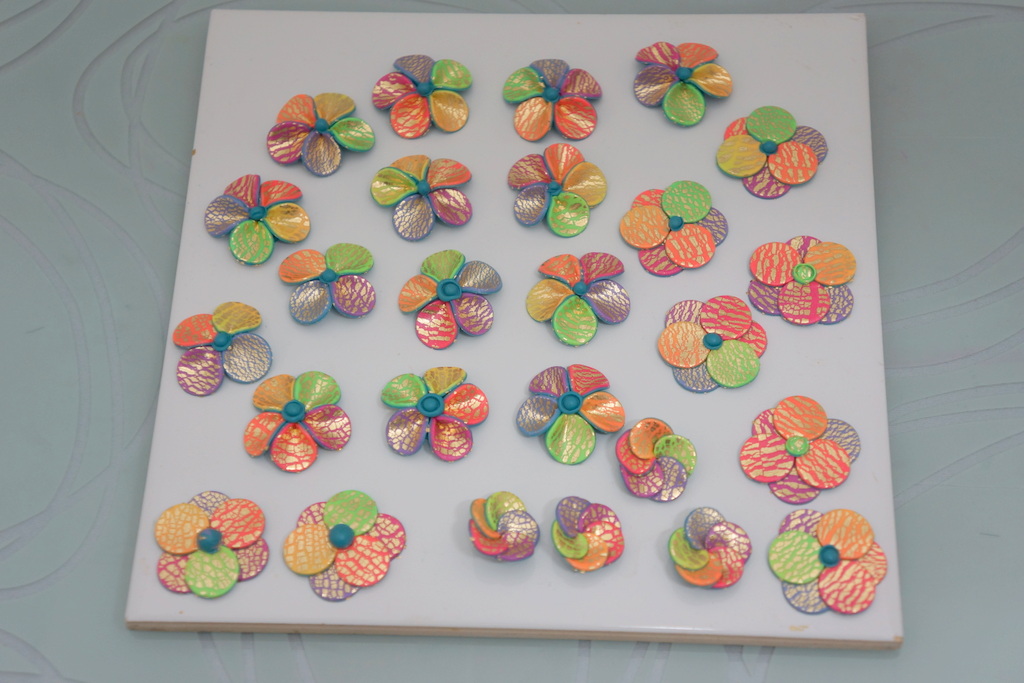
6. Arrange the rounds around in such an order that 1/3 of their surface overlap, as you can see in the photo below.
7. When you arrange 5 petals, take the bloom, lift the first petal upwards and shape a cornet. Flatten the last petal between your fingers a bit and stick it under the lifted first petal, while 1/3 of their surfaces overlap again. You may find the description a little clumsy, however, the procedure is depicted in the images. Bake the bloom following the manufacturer´s instructions. Do not worry to bake it on a tile.
8. Another variant (the one intended for the youngest children) is based on cutting out 6 rounds. Put 3 rounds together and create a triangle.
9. When making the second layer, put the rounds together again but place them on the first triangle the other way around (i.e. you can see a Star of David or two triangles placed upside down).
10. In order to connect the layers firmly, use a piece of clay and put it into the hole of the etch´n pearl tool.
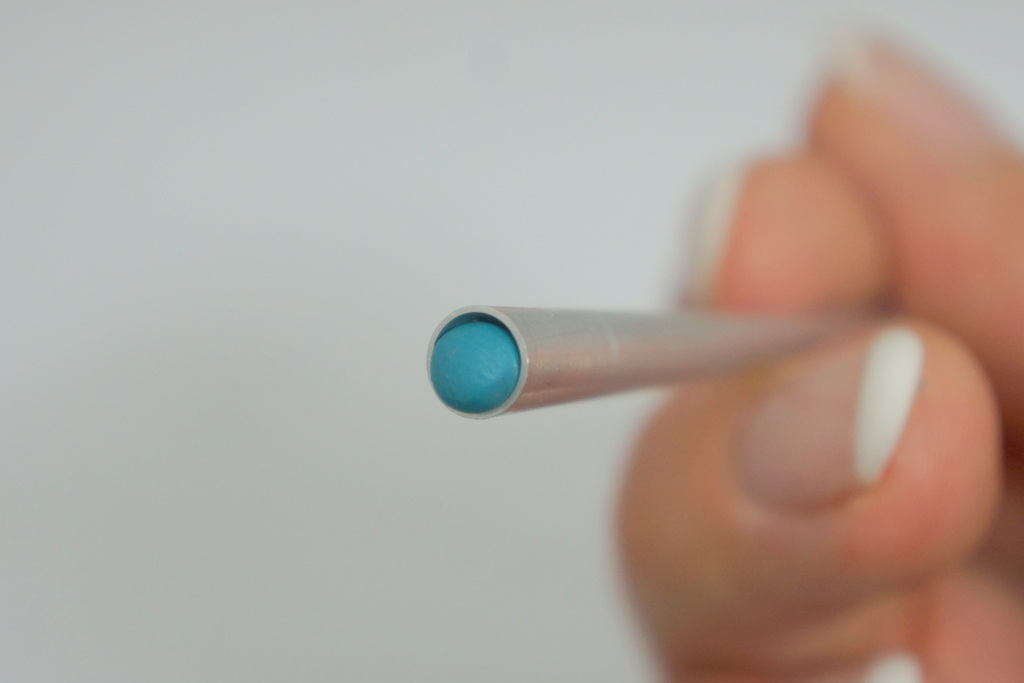
11. Make a stone and press it into the centre of the bloom. And, it´s done.
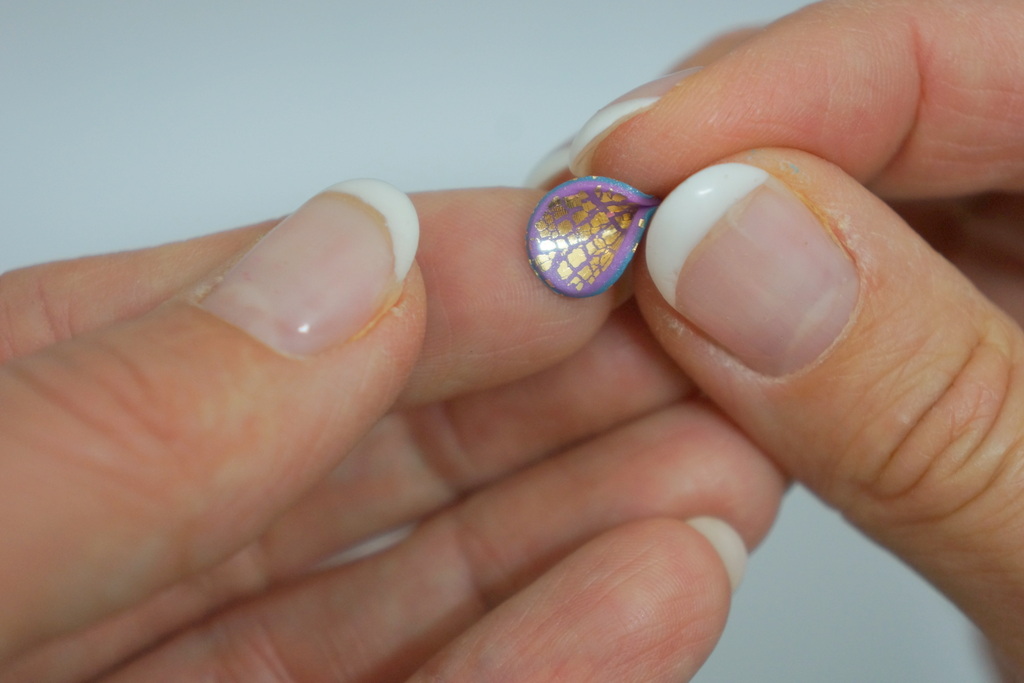
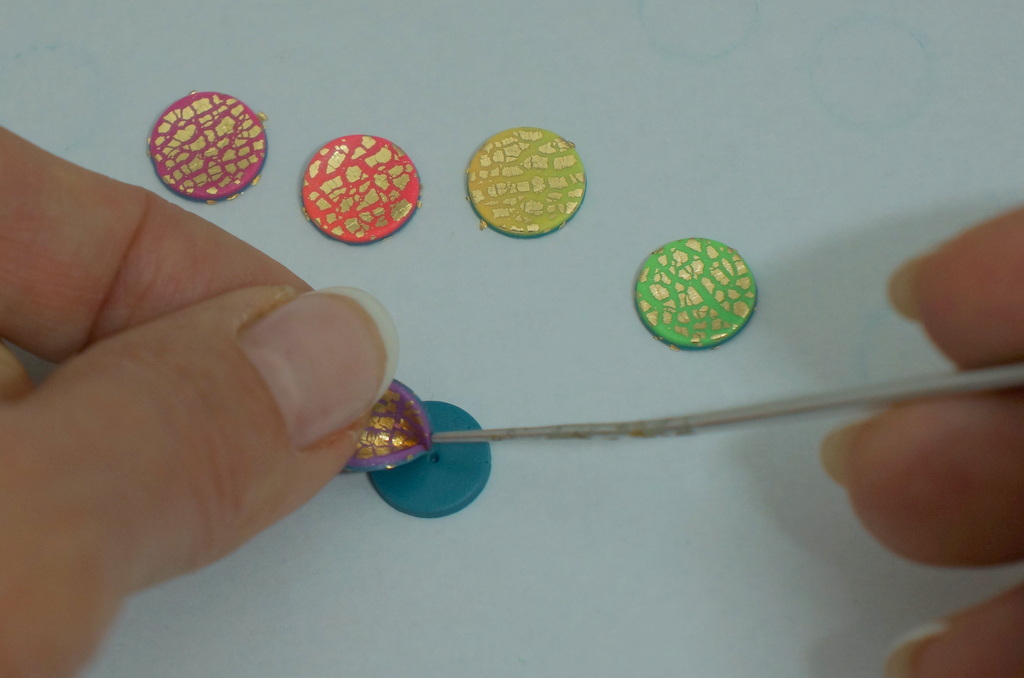
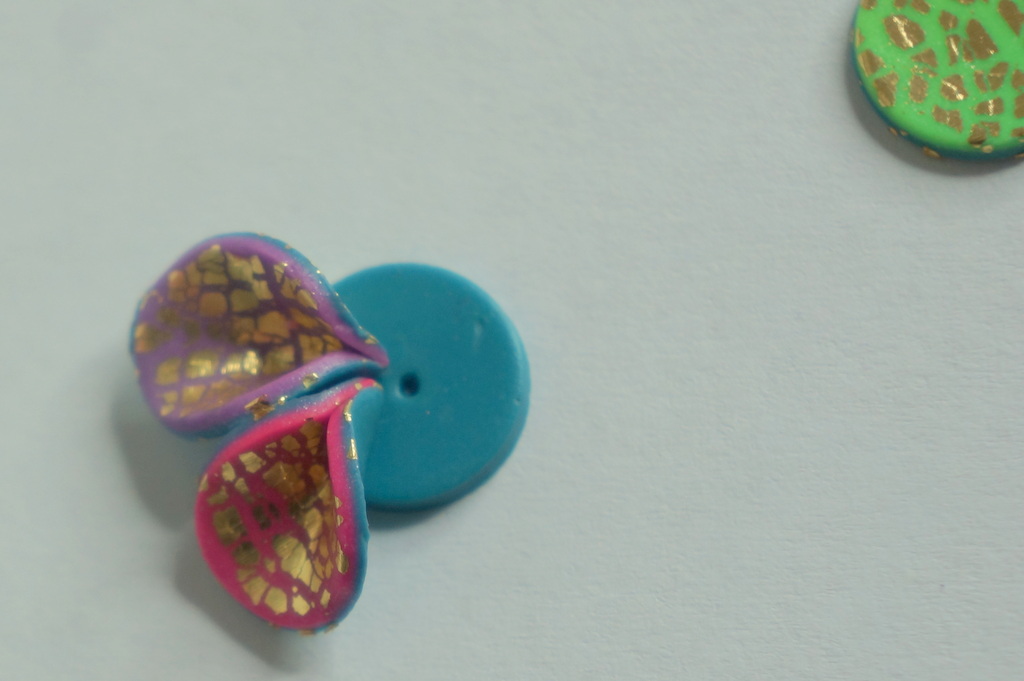
12. A more difficult variant (intended for older children) consists of blooms made of 5 petals with a base. Cut out a round from the base sheet of clay and, then, 5 multicoloured rounds. By means of a skewer (or just your adroit fingers) squeeze the edges of one half of the rounds inwards.
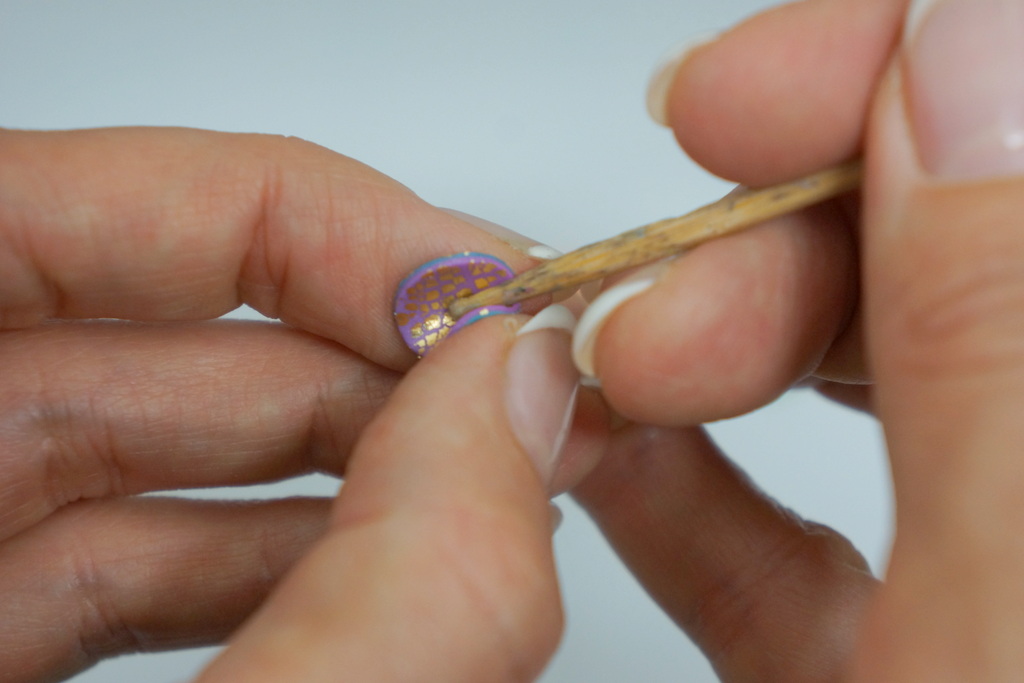
13. Extend the petal at the other side of the round by means of the thumb of your second hand, if necessary.
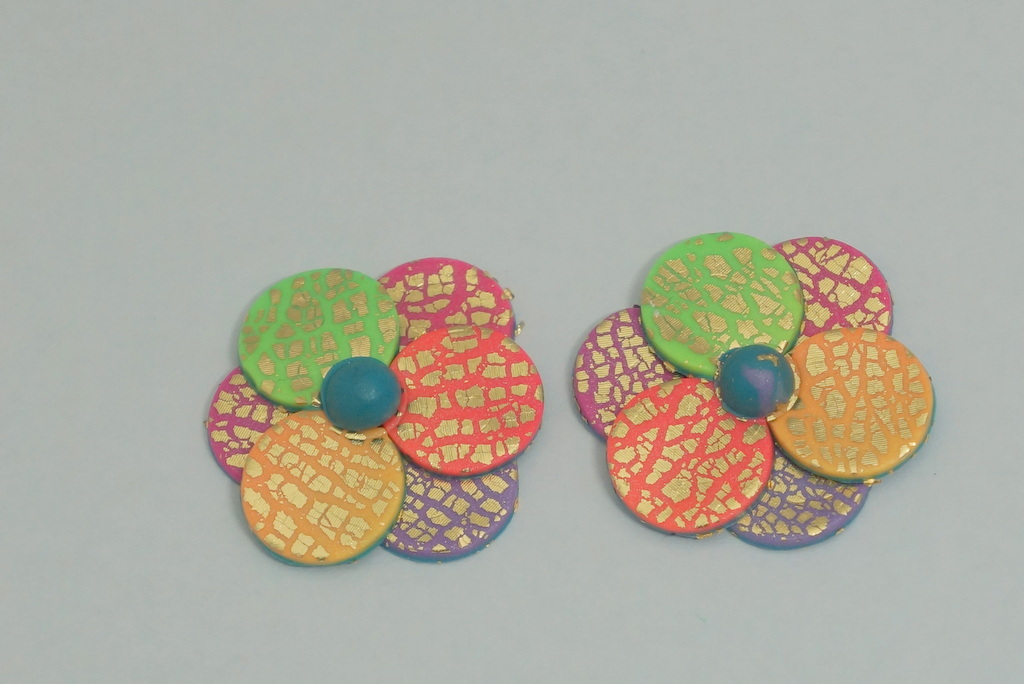
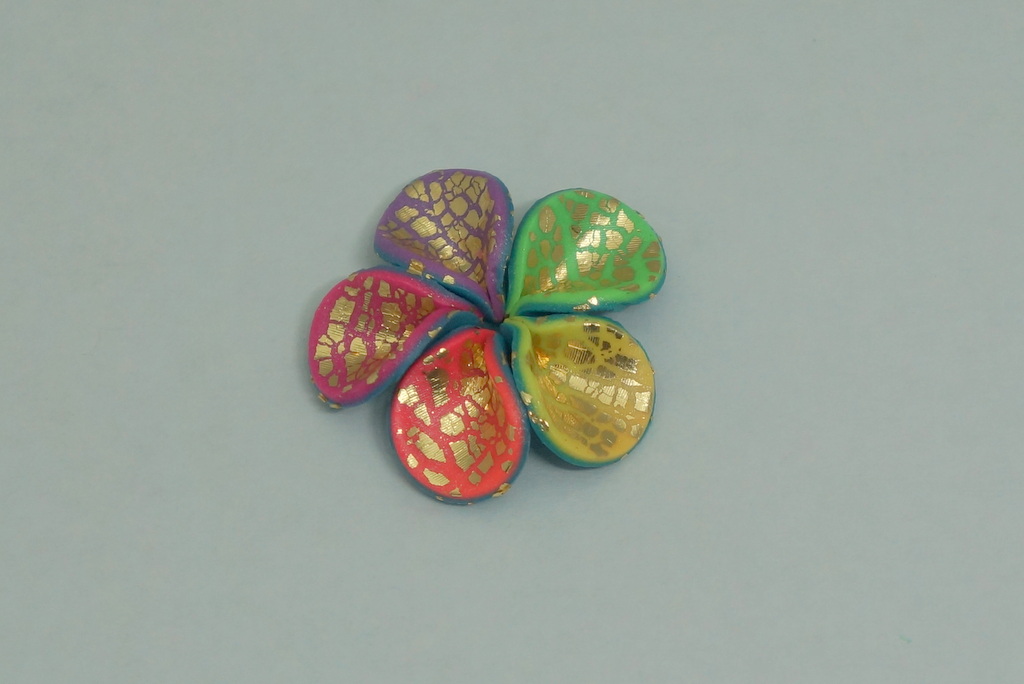
14. Arrange all five petals on the base like this (if you do not manage to wedge all five petals there, four also look great). Cut the clay off the mat and bake it.
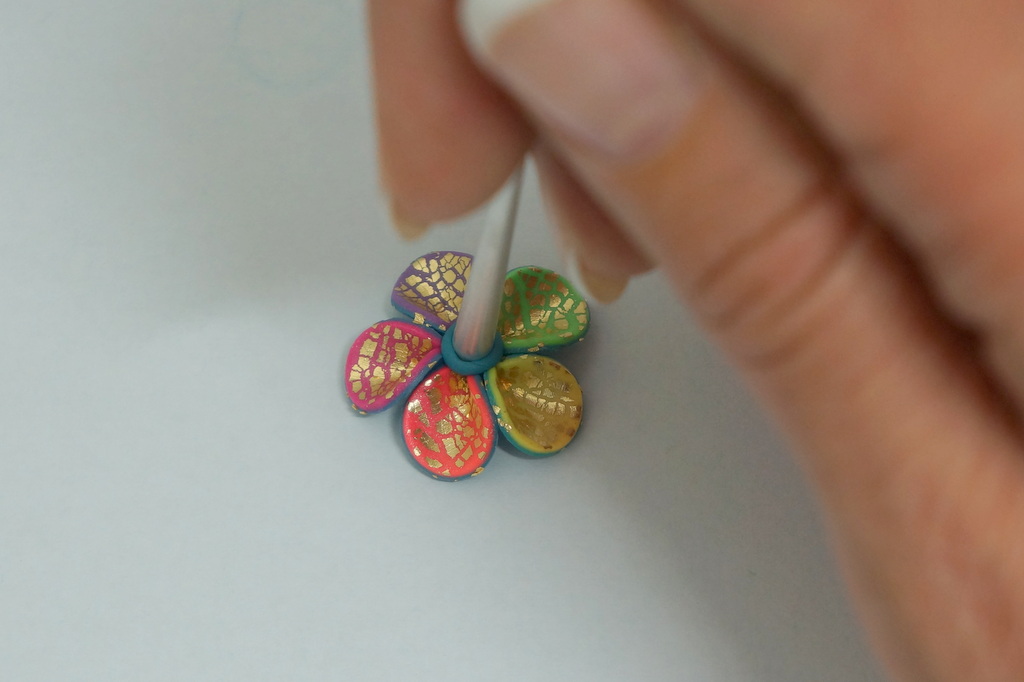
15. You can make a stone in the centre of the bloom again.
16. Concerning the first variant, grind off a tiny surface on the back side of the petal (i.e. the spot where the points of the cornets meet), drop super glue on the spot and attach the leverback earwire. In terms of the other variants, simply stick the leverback earwire, and that´s done.
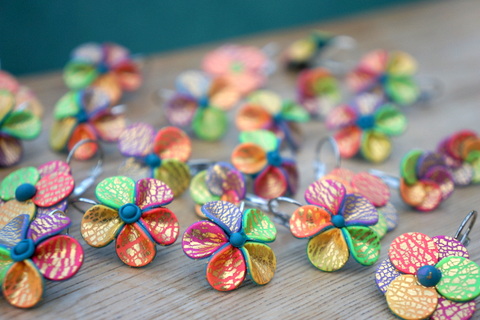
I wish a beautiful feast day to all children and mothers as well! 
Petra Nemravka